Amigurumi, the Japanese art of crocheting or knitting small stuffed creatures and objects, has captivated crafters worldwide with its adorable results and creative possibilities. Whether you’re a beginner picking up a hook for the first time or an experienced crocheter looking to refine your skills, mastering essential amigurumi techniques will elevate your projects from simple to spectacular. This comprehensive guide explores the fundamental methods, tips, and tricks that will help you create professional-looking amigurumi pieces in 2026 and beyond.
Understanding the Magic Ring Foundation
The magic ring, also known as the magic circle or adjustable ring, is the cornerstone technique for most amigurumi projects. Unlike traditional chain starts that leave a visible hole in the center of your work, the magic ring creates a tight, seamless beginning that’s essential for creating smooth, professional-looking heads, bodies, and other rounded components.

To create a magic ring, wrap yarn around your fingers to form a loop, insert your hook through the loop, and pull up a working yarn. Chain one to secure, then work your required number of stitches into the ring. The beauty of this technique lies in its adjustability—before you close the first round, pull the tail end to cinch the ring completely closed, eliminating any central gap.
Mastering this technique takes practice, but it’s worth the effort. Many beginners struggle initially, but with patience and repetition, the magic ring becomes second nature. For those who find it challenging, alternative methods like starting with two chains and working into the first chain can work, though they won’t produce the same seamless finish.
Mastering Invisible Decreases and Increases
Creating smooth, even shaping is what separates amateur amigurumi from professional-quality pieces. Traditional decreases can create unsightly bumps and ridges in your work, but invisible decreases maintain a smooth fabric surface that’s essential for amigurumi aesthetics.
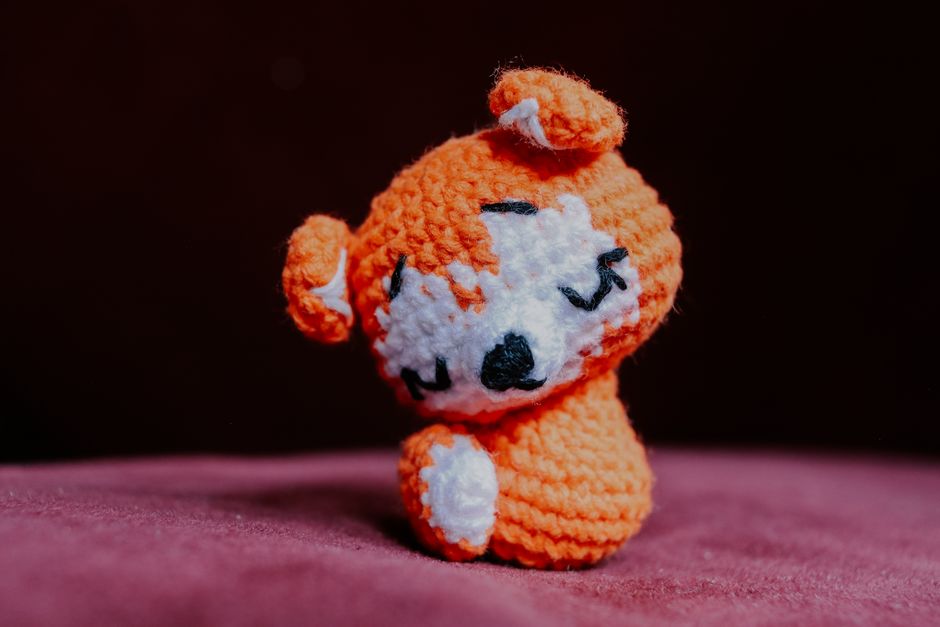
An invisible decrease involves inserting your hook through the front loops only of the next two stitches, then yarning over and pulling through both loops before completing the decrease. This technique hides the decrease within the fabric structure, preventing the bumpy appearance that standard decreases create.
Similarly, proper increases are crucial for maintaining even tension and shape. When increasing, work two stitches into the same stitch, being careful to keep your tension consistent. Uneven increases can create lumpy, misshapen areas that detract from your finished piece. Distributing increases evenly around each round creates smooth, symmetrical shaping that’s particularly important for spherical elements like heads and bodies.
Just as physical activities require proper technique to avoid strain and achieve results, crochet techniques demand precision to create quality outcomes while maintaining comfort during extended crafting sessions.
Working in Continuous Rounds Versus Joined Rounds
Most amigurumi projects are worked in continuous spirals rather than joined rounds, which creates seamless pieces without visible seam lines. However, understanding when to use each method and how to manage them is essential for achieving professional results.
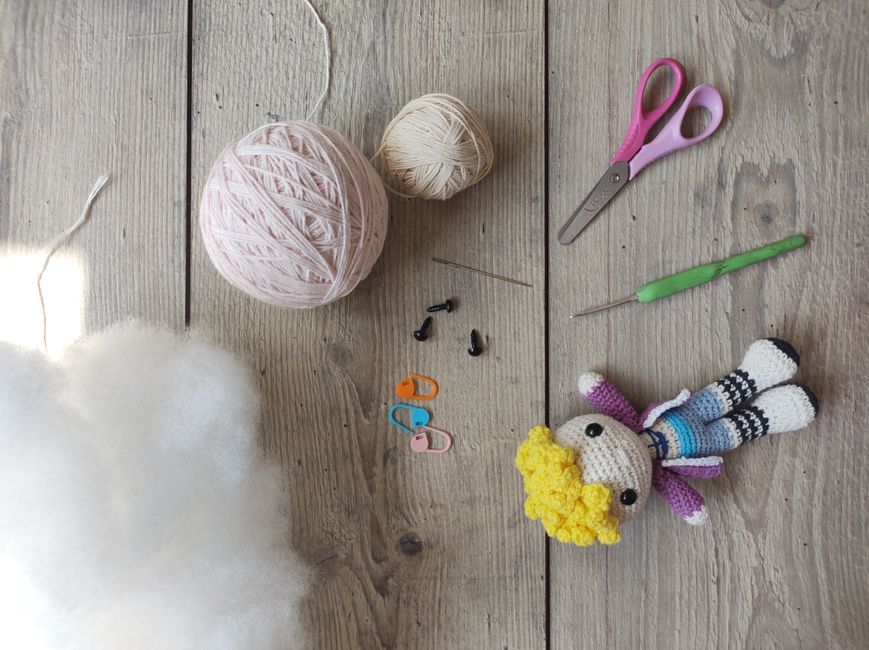
When working in continuous rounds, you’ll need to use a stitch marker to track the beginning of each round. Place the marker in the first stitch of the round and move it up as you complete each round. This prevents losing track of your position and ensures accurate stitch counts throughout your project.
Some patterns call for joined rounds, particularly when working with color changes or creating specific pattern effects. To join rounds, complete the round with a slip stitch into the first stitch, then chain one before beginning the next round. This creates a more defined round structure but produces a visible seam line that runs up your work.
The choice between continuous and joined rounds affects the final appearance of your amigurumi. Continuous rounds create smoother color transitions and seamless surfaces, while joined rounds offer more control over pattern placement and can simplify complex colorwork designs.
Achieving Perfect Tension and Stitch Consistency
Tension is perhaps the most critical element in creating high-quality amigurumi. Unlike garments where slight tension variations may go unnoticed, amigurumi requires tight, consistent stitches to prevent stuffing from showing through and to maintain the structural integrity of three-dimensional shapes.
Amigurumi typically requires tighter tension than other crochet projects. Your stitches should be firm enough that the fabric is solid with no gaps, but not so tight that the fabric becomes rigid and difficult to work with. Finding this balance takes practice and awareness of how you hold your yarn and hook.
Many crocheters find that using a smaller hook than recommended for their yarn weight helps achieve the tight tension needed for amigurumi. For example, if using worsted weight yarn that typically calls for a 5mm hook, try a 3.5mm or 4mm hook instead. The resulting fabric should be firm and dense without visible gaps between stitches.
Consistency is equally important. Variations in tension create uneven surfaces, misshapen pieces, and frustration during assembly. Regular practice helps develop muscle memory for consistent tension. Taking breaks during long crafting sessions, similar to the importance of adequate rest for optimal functioning, helps maintain consistent tension by preventing hand fatigue that can alter your stitch quality.
Color Changes and Yarn Management
Clean color transitions elevate amigurumi from simple to striking. Whether you’re adding facial features, creating striped patterns, or working with multiple colors, mastering color change techniques is essential for polished results.
For the cleanest color changes, switch colors on the last yarn over of the stitch before the new color begins. Complete the stitch up to the final yarn over, then drop the old color and use the new color to complete the stitch. This places the color change at the base of the next stitch, creating a crisp transition without bleed-through from the previous color.
Managing multiple yarn colors requires organization and planning. Weave in ends as you go when possible, securing them between the outer fabric and the stuffing layer. This saves time during finishing and creates a neater interior. For colors you’ll use again within a few rounds, carry the yarn up the inside of your work rather than cutting and rejoining.
Understanding color theory and application enhances your amigurumi designs. Just as encyclopedic knowledge spans various subjects, mastering color techniques opens creative possibilities from realistic animal markings to whimsical character designs.
Assembly and Finishing Techniques
Even perfectly crocheted components can result in disappointing finished pieces without proper assembly and finishing. These final steps transform individual pieces into cohesive, professional-looking creations.
Whip stitch and ladder stitch are the primary assembly methods for amigurumi. Whip stitching creates strong, secure attachments ideal for limbs and structural elements. Ladder stitching produces nearly invisible seams perfect for attaching heads to bodies or closing final openings. Learning both techniques and knowing when to use each elevates your finishing quality significantly.
Pin pieces in place before stitching to ensure proper positioning. This is especially important for facial features and limb placement where symmetry matters. Take time to view your work from multiple angles, adjusting positioning until it looks right. A few extra minutes spent positioning can make the difference between an acceptable piece and an exceptional one.
Securing eyes and safety components properly ensures durability, particularly for amigurumi intended for children. Insert safety eyes before stuffing and closing pieces, positioning them carefully and securing backings tightly. For embroidered features, use yarn needles and secure stitching techniques that won’t pull loose over time.
Conclusion
Mastering amigurumi techniques transforms crochet from a simple hobby into an expressive art form. The magic ring creates seamless beginnings, invisible decreases maintain smooth shaping, and proper tension ensures structural integrity. Combined with clean color changes and meticulous finishing, these techniques enable you to create amigurumi pieces you’ll be proud to display, gift, or sell. Remember that every expert crocheter started as a beginner, and each project you complete builds skills and confidence. Embrace the learning process, practice these fundamental techniques, and watch as your amigurumi creations evolve from simple toys to masterful handcrafted treasures that showcase your developing expertise and creative vision.