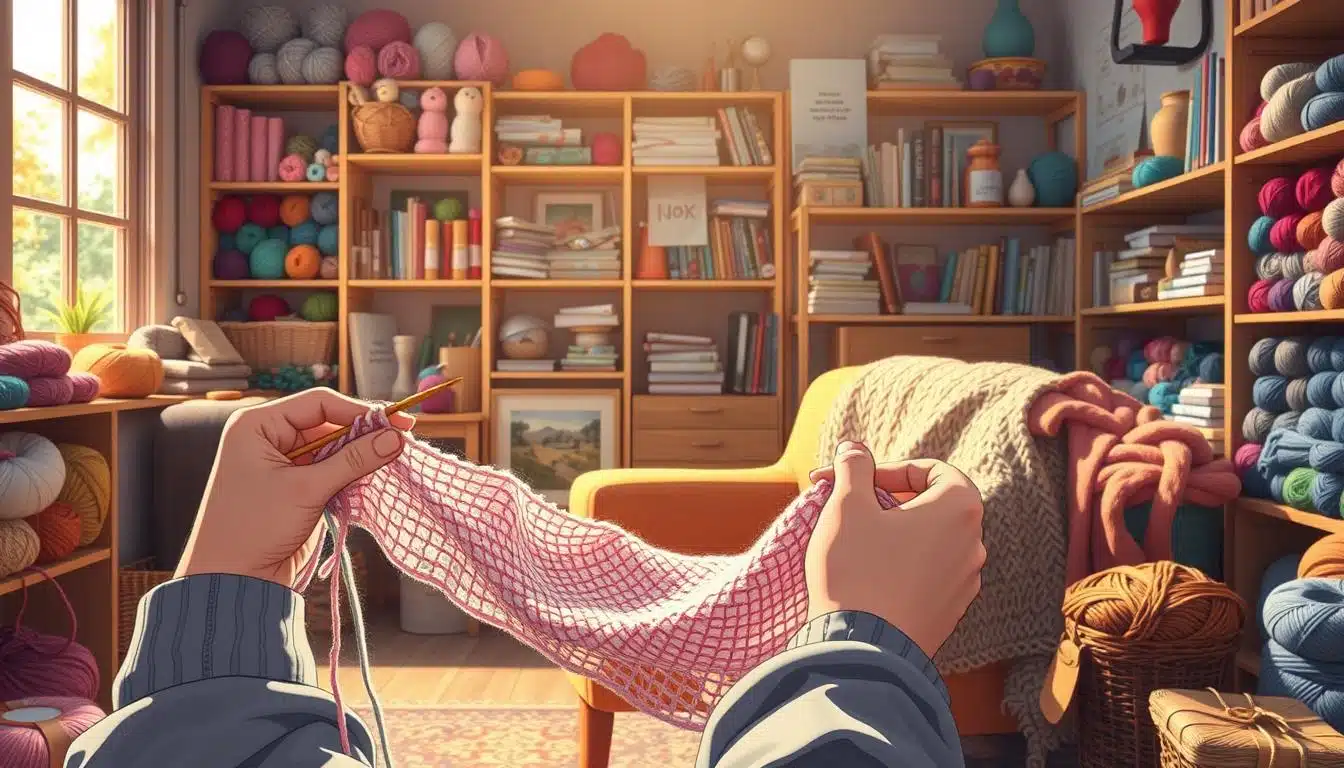
You love the feel of wool as it moves through your fingers. But you also have deadlines and gifts to make. This article will share tips to knit faster without losing the quality or joy of your craft.
I’ve seen speed knitting at events like Knit City and learned from experts. They teach that it’s not about moving fast. It’s about being efficient with your hands, tools, and small movements.
This guide will give you practical advice on different knitting styles and tools. You’ll learn about needles, yarns, planning, and staying injury-free. Plus, find resources like SweetGeorgia’s guide and Ravelry groups for more tips.
Key Takeaways
- Speed comes from technique and efficiency, not just faster hands.
- Try Continental or lever styles to reduce excess motion.
- Choose needles and yarn that glide for better knitting efficiency.
- Plan projects and swatch to avoid time-consuming mistakes.
- Protect your body with breaks and stretches to sustain long sessions.
Why You Might Want to Knit Faster: Motivation and Mindset
There are many good reasons to knit faster. You might need to meet a deadline for a gift or an Etsy order. Or, you might have a big order for a craft fair. Learning to knit quickly helps you stay on track without stress.
Reading a guide like the one at motivated knitting pattern designer can help. It gives you tips to keep going when you feel stuck.
Finishing projects is a big motivator. Every hat, scarf, or sweater you complete makes you feel proud. It also means you have more items to sell, which can lead to more knitting.
Speed doesn’t mean rushing. It’s about being efficient. Plan ahead, read the pattern before starting, and work in small chunks. This way, you avoid mistakes and save time.
Deadlines, gifts, and small-business demands
Weddings and holidays can be stressful. If you knit for a living, meeting deadlines keeps customers happy. Joining groups on Ravelry or taking speed classes can help you improve without getting overwhelmed.
The satisfaction of finishing more projects
Finishing projects feels great. It makes you feel accomplished and confident. Experienced knitters often knit faster and find it very rewarding.
Balancing speed with enjoyment and avoiding burnout
Knitting too fast can hurt you. It can lead to injuries like carpal tunnel. Make sure to take breaks and stretch to stay safe.
Try the ten-minute rule to stay motivated. Tell yourself you’ll work for just ten minutes, then stop if you want. Often, you’ll keep going.
Use strategies like breaking tasks into smaller steps. Delay rewards and knit the sample after the pattern draft. This keeps you focused without getting too stressed. Joining speed knitting events or groups can also help. It makes learning fun and keeps you motivated.
Understanding Knitting Styles to Improve Efficiency
Choosing the right knitting style can make a big difference. It affects how fast you work and how comfortable you feel. Some people swear by English, while others prefer Continental. Lever knitting is great for stamina.
English knitting, or throwing, uses your right hand for the yarn. It’s a wrap motion that many beginners in the U.S. find natural. Continental, or picking, uses your left hand for the yarn. This style cuts down on hand travel.
Lever knitting, also known as Irish cottage or the pivot method, uses a small lever motion. One needle moves while the other stays steady.
How your chosen style affects speed and project type
Your style impacts both your speed and the projects you choose. English suits relaxed, flat stockinette and beginners who enjoy rhythm. Continental is better for efficiency because it reduces motion.
Lever knitting is great for tight, even stitches. It’s perfect for long days on the needles, ideal for caps, socks, and production work.
When to experiment with a new style and how to transition
Try a new style when you want to speed up or reduce strain. For speed, try Continental. For ergonomics, go for lever knitting.
Start with short daily practice and simple swatches. Follow tutorials by experts like Stephanie Pearl-McPhee or HeartStrings. Give yourself 21–30 days to adapt. Small, consistent habits are better than long, marathon sessions.
Continental Knitting: Why Many Switch to Knit Faster
Switching to continental knitting is a simple way to knit faster. You hold the yarn in your left hand. This makes the right needle’s motion smaller, reducing wasted movement and strain.
What it is and why it trims motion
Continental knitting keeps yarn on the left hand. You guide it with a finger and use a light picking motion with the right needle. This is different from the English throw, where you swing yarn from the right hand.
Using continental knitting means fewer arm swings. This leads to faster progress and less fatigue.
Practical tips for tension and finger placement
To keep a steady left-hand tension, let yarn run over the left index finger toward the needles. Lift that finger slightly above the needle tip to guide yarn smoothly.
Try different wrapping styles until your tension is consistent. Keep a loose, gentle grip on the needles. Hold stitches on the shaft, not jammed at the tip, for smooth motions.
For a visual guide on how to knit continental, check this handy guide from Lee Lee Knits: how to knit continental.
Common beginner mistakes and quick fixes
Too-tight stitches can be fixed by moving new stitches onto the middle of the needle shaft and loosening your left-hand wrap. Dropped or fumbled stitches often come from overactive needle movement; steady the working needle and rely on small finger actions.
Struggling to control yarn? Make short practice swatches and raise speed gradually. Practice builds muscle memory for left-hand tension and the pick knitting motion that defines continental technique.
| Issue | Cause | Quick Fix |
|---|---|---|
| Stitches too tight | Yarn wrapped too tightly around index finger or stitches at tip | Move stitches to shaft, loosen wrap, relax grip |
| Dropped stitches | Fidgety needle movement, poor yarn control | Keep working needle steady, use small finger motions |
| Uneven tension | Inconsistent finger wrapping or wrist tension | Try alternative wraps, practice short swatches |
| Slow to speed up | Rushing before technique is automatic | Increase pace gradually, focus on relaxed motion |
| Purl awkwardness | Unfamiliar left-hand positioning for purl rows | Keep yarn in front, scoop with right needle, practice sequence |
Lever Knitting and Production Techniques for Long Sessions
Want to knit for hours without hurting your wrists? Lever knitting is a game-changer. It’s also known as Irish cottage knitting. This method keeps one needle still while the other moves in a short arc. This small motion reduces arm movement and makes purling as fast as knitting.
What lever knitting looks like and why it’s ergonomic
Imagine one needle close to your body while the other moves in a small arc. This motion cuts down on wide wrist swings and lowers shoulder tension. Experts like Eunny Jang say lever knitting is fast because it uses small movements, not big arm gestures.
Holding the needle steady: makkins, knitting belts, and pencil grip
There are ways to keep the stationary needle in place. A makkin or knitting belt holds it against your body. This lets your hands focus on quick, repetitive actions. The pencil grip is also popular; hold the needle like a pencil and use your index finger for control.
How lever knitting can help you sustain 8–10 hour workdays
Practicing lever knitting daily trains the small muscles needed for it. Start with short sessions and gradually increase the time to avoid getting tired. Experts suggest mixing focused knitting with breaks and stretches to keep your pace steady.
For tips on speed and motion, check out speed and motion guides. These can help you use lever knitting efficiently without straining your hands.
| Technique | Primary Benefit | When to Use |
|---|---|---|
| Makkin / Knitting belt | Stabilizes stationary needle for consistent tension | Long garments, production knitting, repetitive patterns |
| Pencil grip | Fine control for fast, precise lever motions | Detailed work, lace, switching between knit and purl |
| Under-arm hold | Quick anchoring for circulars and socks | Small circumferences and mobile knitting sessions |
| Micro-practice drills | Builds muscle memory and sustained speed | Training phases, ramping up to full workdays |
Needles, Yarn, and Tools That Speed Up Stitching
You want gear that helps you move faster without turning every row into a battle. The right needle materials and yarn can save you minutes. Smart knitting tools make the process smoother and less fussy.

Best needle materials for glide
Metal needles, like stainless steel or nickel-plated, offer the smoothest surface and fastest glide. They’re perfect for speed, especially in open, repetitive patterns.
Wood and bamboo needles give more grip, slowing your pace. They help control slippery yarns and reduce dropped stitches. Coated or hybrid needles aim to balance, with a wood core and a slick finish.
For a quick comparison and practical notes on feel and speed, check out this write-up on wood vs metal needles.
Yarn choices that affect speed
Choose yarn that’s smooth, plied, and has a consistent twist. These yarns slide across needles cleanly and split less, making knitting easier.
Weight is key. Bulky yarn moves your project along faster. Finer yarns give detail but slow your stitches. Textured yarns like boucle or haloed mohair will slow you down.
Test a swatch to match needle materials to your yarn. Predictable tension and fewer split strands mean fewer stops and quicker progress.
Auxiliary tools to keep you moving
Stitch holders and waste yarn save time when you need to park live stitches instead of ripping back. Row counters, whether mechanical or app-based, stop you from recounting and losing rhythm.
Organize your project: place yarn cakes, notions, pattern, and needles within arm’s reach. Use labeled project bags and a small notions tray to avoid hunting for stitch markers mid-row.
Choose ergonomic brands like Clover and ChiaoGoo for long sessions; they offer durable knitting tools that reduce hand strain and increase efficiency.
Micro-Movements and Technique Tweaks to Gain Stitches Per Minute
Small changes in how you move can greatly improve your stitch count. Focus on making tiny, efficient motions and keeping your stitches steady. Remember, speed comes from practice, not shortcuts. Comfort and managing your knitting tension are key to quality work.
Minimizing movement: tiny finger motions vs. arm swings
Replace big arm swings with small finger arcs. Use your index finger and thumb to guide the needle tip. Let your lower fingers handle the yarn and keep the fabric steady. Keep one needle still while the other makes precise moves.
Active left hand and stitch management strategies
Keep your left hand active by pushing stitches up. This makes the next loop easier to reach. When you need quick access, scrunch stitches toward the left needle tip. Spread stitches on the right needle for easier clearance.
Managing tension without sacrificing stitch quality
Form each stitch on the needle’s main shaft for consistent tension. Try finger wrapping to adjust tension. If your stitches are tight, slow down and place them lower on the needle. Use short practice sessions to adjust tension without rushing.
Setting practical goals helps you stay motivated. Beginners might start with 20–30 stitches per minute. Experienced knitters can reach 60–80+ stitches per minute with rhythm and precision. Track your progress and practice in short sessions to build speed without strain.
Planning and Workflow: Finish Faster Without Ripping Back
Good planning keeps you knitting, not undoing. A calm knitting workflow starts before you cast on. Spend a few minutes reading the whole pattern to spot shaping, color changes, and yarn needs. This simple habit helps prevent mistakes and saves time.
Reading the whole pattern before you start
Read every section once through. Note increases, decreases, and any special stitch counts. Mark where measurements matter and write a brief checklist. If you see a shaping row you missed, you avoid a ripback later. This step anchors your knitting planning.
Prep strategies: swatches, yarn checks, and layout for multi-piece garments
Make a swatch to confirm swatch gauge and test your needles. Measure and wash that swatch the same way you will the finished garment. Check skein amounts and dye lots. Lay out panels and label them before assembly so seaming goes fast and precise.
Batching similar tasks and maintaining consistent gauge
Group repetitive steps. Do all cast-ons, ribbing edges, or seaming for several pieces in one block to build rhythm. Use the same needle and yarn combo for matching parts to hold a steady gauge. This kind of knitting planning keeps your hands in a productive groove and helps prevent mistakes knitting.
Set up a small workstation with tools at hand: a row counter, stitch markers, a tape measure, and labeled project bags. A consistent setup streamlines the knitting workflow and turns steady progress into finished projects.
Preventing Injury While You Accelerate Your Knitting
Speeding up your knitting is exciting, but it can hurt your hands and shoulders. Good knitting ergonomics helps you stay flexible and avoid injuries. Making small changes to how you sit and use tools can make a big difference.
Why posture and setup matter
Keep your wrists straight and avoid tight grips. Sit in a chair that supports your back and lets your shoulders relax. Switch between sitting and standing to avoid shoulder pain.
If you do the same motion for hours, try using a knitting belt or makkins. These tools can help reduce wrist and shoulder strain.
Simple stretches, breaks, and pacing
Take short breaks every 20–30 minutes to move around. These breaks should last about a minute. Longer breaks of five to ten minutes every hour can help too.
Here are some stretches you can do:
- Wrist flexor stretch: extend arm, pull fingers back gently with the other hand for 15–20 seconds.
- Wrist extensor stretch: opposite motion, hold for 15–20 seconds.
- Finger spreads: press fingertips together, then fan out; repeat 6–8 times.
- Shoulder rolls and neck tilts: 8 slow reps each side to release upper-back tension.
Signs to slow down or change technique
If you feel numbness, tingling, or burning in your thumb and first two fingers, it’s a sign to slow down. These symptoms can mean you have carpal tunnel issues. You should see a doctor right away.
Reduce your knitting time, try different techniques, and use ergonomic tools. This can help your symptoms improve.
Research shows that brain changes can affect your ability to knit. For example, a study found that surgery in the non-dominant temporal lobe can lead to unexpected problems with crafts. Read more about it at this neurology report.
For long days of knitting, start slowly and take breaks. Alternate hand positions and schedule regular breaks. This way, you can keep knitting without hurting yourself.
Conclusion
To knit faster, choose a style that suits you. Continental or lever styles can save time. Use smooth needles and yarn to keep going.
Plan ahead to avoid mistakes. Swatch, read patterns, and group tasks. Practice small movements and short drills to improve.
Keep your hands safe with good posture and breaks. Ergonomic tools help too. Classes and Ravelry groups offer support and tips.
Remember, speed isn’t everything. Enjoy your yarn and take care of your hands. Use these tips to create beautiful pieces without losing quality or health.
FAQ
What’s the quickest way to actually knit faster without wrecking your tension or your shoulders?
Speed comes from being efficient, not from moving too fast. Try a more efficient knitting style, like continental or lever. Use smooth needles like stainless steel or coated ones.
Keep your stitches on the needle shaft. Move your fingers in small circles, not big arm swings. Plan your projects well to avoid mistakes.
Practice short drills every day, even just 10–15 minutes. This builds muscle memory.
Which knitting style is fastest: English, Continental, or Lever?
There’s no single fastest style, but continental and lever are often cited. Continental uses the left hand for yarn, reducing arm movement. Lever minimizes wrist and arm travel, great for long sessions.
English knitting is familiar but usually slower due to larger arm movements.
I’m an English knitter—can I learn continental or lever, and how long will it take?
Yes, you can learn. Short daily practice is key. Instructors suggest 21–30 days to build muscle memory.
Start with simple swatches and 10–15 minute sessions. Follow tutorials from HeartStrings and SweetGeorgia. Be patient, as it takes time.
What are practical finger and tension tips for continental knitting?
For continental knitting, keep your left index finger above the needle tip. This guides the yarn. Try different ways to wrap the yarn until tension is even.
Form stitches on the main shaft, not the tip. Hold needles gently. If stitches are tight, form them lower on the shaft and practice until tension improves.
How does lever knitting reduce strain during long workdays?
Lever knitting uses small motions, reducing big movements. This cuts down on wrist and shoulder strain. Many find it helps maintain high stitch rates with less fatigue.
Use a makkin, knitting belt, or under-arm hold to anchor the stationary needle. This keeps sessions sustainable.
Which needles and yarns actually help you move faster?
Needles with good glide, like metal or coated ones, reduce friction. Wooden or bamboo needles add grip but might slow you down. Choose smooth, plied yarns for consistent tension.
Heavier yarns move faster, while finer yarns take longer. Avoid boucle or fuzzy yarns for speed.
What auxiliary tools make production knitting less fiddly?
Use stitch holders or waste yarn for live stitches. Row counters or digital counters track progress. Organized project kits keep everything ready.
Blocking mats and labeled bags speed up transitions. SweetGeorgia and others recommend guides and ergonomic tools.
How can I plan workflow to avoid wasted time on mistakes and ripping back?
Read the pattern fully before starting. Make a gauge swatch and check dye lots. Plan your assembly and finishing steps.
Batch tasks like casting on all pieces at once. This gets you into a rhythm. Keep needle and yarn pairings consistent for better gauge.
What micro‑movement tweaks improve stitches per minute?
Reduce arm swings and use your index finger and thumb for control. Keep one needle still and push stitches up for quick access. Avoid moving stitches to the tip between each stitch.
Use small arcs and steady motion for better speed.
I need to knit long days for Etsy orders—how do I avoid injury?
Focus on ergonomics. Sit with neutral wrists and a supported back. Alternate positions and consider lever knitting or a knitting belt.
Take breaks every 20–30 minutes and longer breaks each hour. Stretch your wrists and fingers, and roll your shoulders. If pain persists, see a doctor.
How fast can I realistically expect to get with practice?
Beginners might average 20–30 stitches per minute. With practice, lever and production knitters can reach 60–80 stitches per minute. Elite speed knitters can hit 75–80 stitches per minute.
Remember, sustained knitting and efficiency are more important than occasional speed bursts.
When should I change my technique because of pain or diminishing returns?
If you experience recurring soreness or numbness, slow down and change your technique. Try different styles, ergonomic tools, or shorter sessions. If symptoms persist, see a doctor.
Where can I continue learning and find community support to get faster?
Take classes like Stephanie Pearl‑McPhee’s “Knitting for Speed & Efficiency.” Attend events like Knit City or Vogue Knitting Live. Download guides from SweetGeorgia and join Ravelry groups for tips.
Speed‑knitting meetups and online forums make practice fun and social.
Will knitting faster make my finishing quality suffer?
No, if you focus on efficiency over speed. Good planning, consistent tension, and the right tools keep stitch quality high. Many production knitters produce beautiful work at high speeds.
Always slow down for delicate finishes or intricate stitchwork.
Any quick starter plan to try continental or lever for 30 days?
Yes, commit to short daily practice. Day 1–7: practice basic knit/purl swatches for 5–10 minutes. Day 8–21: increase to 10–20 minutes, add ribbing and simple in-the-round practice.
Day 22–30: try a small project while timing intervals and noting tension. Use tutorials from HeartStrings and SweetGeorgia guides. Keep it fun and stop if pain appears.