Amigurumi, the Japanese art of crocheting adorable stuffed animals and creatures, has captivated crafters worldwide. Whether you’re a beginner picking up a crochet hook for the first time or an experienced crocheter looking to expand your skills, creating amigurumi animals offers endless creative possibilities and the satisfaction of bringing handmade treasures to life. This comprehensive guide will walk you through everything you need to know to start your amigurumi journey in 2026.
Understanding Amigurumi Basics
Amigurumi animals are typically worked in continuous rounds using single crochet stitches, creating tight, dense fabric that holds stuffing securely. Unlike traditional crochet projects, amigurumi pieces are usually crocheted from the inside out, starting with a magic ring and working in the round without joining at the end of each row.

The foundation of amigurumi crafting relies on several key techniques:
- Magic ring (adjustable ring): Creates a tight center circle that can be pulled closed to eliminate gaps
- Single crochet: The primary stitch used throughout most amigurumi projects
- Increases: Adding stitches to expand the work (typically two single crochets in one stitch)
- Decreases (invisible decreases): Reducing stitches while maintaining a smooth appearance
- Continuous rounds: Spiraling without slip stitches or turning chains
Mastering these fundamental techniques will set you up for success with any amigurumi pattern you choose to tackle. For a comprehensive overview of various stitches and techniques, check out our Detailed Crochet Instructions for All Levels. Similar to how establishing proper foundational movement patterns is essential in physical activities, building strong basic crochet skills creates the foundation for more complex amigurumi projects.
Essential Materials and Tools
Having the right supplies makes the amigurumi crafting process smoother and more enjoyable. Here’s what you’ll need to get started:

Yarn: Worsted weight yarn is ideal for beginners, offering good stitch definition and being easy to work with. Cotton yarn is popular for amigurumi because it holds its shape well and is durable. Acrylic yarn works wonderfully too and comes in countless colors. Choose yarn that matches the weight recommended in your pattern for best results.
Crochet Hooks: A 3.5mm to 4mm hook typically works well with worsted weight yarn. The key is using a hook size smaller than recommended for regular crochet to create tight stitches that prevent stuffing from showing through.
Additional Supplies:
- Polyester fiberfill stuffing (washable and hypoallergenic)
- Safety eyes or embroidery thread for faces
- Stitch markers to track rounds
- Yarn needle for sewing pieces together
- Scissors
- Pins for positioning parts before attaching
Following Amigurumi Patterns
PDF patterns provide detailed instructions for creating specific amigurumi animals, breaking down each body part and assembly step. Understanding pattern terminology ensures you can follow instructions accurately:

Common abbreviations include: sc (single crochet), inc (increase), dec (decrease), ch (chain), sl st (slip stitch), rnd (round), and rep (repeat). Patterns typically indicate the number of stitches in parentheses at the end of each round, which helps you verify you’re on track. If you’re looking for quick projects, explore our collection of Small Crochet Patterns for Every Skill Level.
When working with a new pattern, read through the entire document before starting. This helps you understand the construction order, identify any special techniques needed, and gather all necessary materials. Most patterns work from the head down or feet up, with limbs and features created separately and assembled at the end. For an easy way to access a variety of designs, check out our Instant Download Crochet Patterns Guide.
Stitch markers become invaluable for tracking the beginning of each round. Since amigurumi is worked continuously without joining, it’s easy to lose track of where rounds begin and end without a marker.
Creating Your First Amigurumi Animal
Starting with a simple animal pattern helps build confidence and skills. Here’s a step-by-step approach to completing your first project:
Step 1: Start with the magic ring. Create a loop, insert your hook, and pull up a loop. Chain one (this doesn’t count as a stitch), then work the indicated number of single crochets into the ring. Pull the tail to close the ring tightly.
Step 2: Work in continuous rounds. Place a stitch marker in the first stitch of each round. Follow the pattern’s increase and decrease instructions to shape the piece. For a basic spherical head, you’ll increase until reaching the desired diameter, work even for several rounds, then decrease back down.
Step 3: Stuff as you go. When working the decreases for a closed piece like a head or body, begin adding fiberfill before the opening becomes too small. Stuff firmly but not so tight that stitches distort. The consistency should feel similar to a stress ball.
Step 4: Create additional parts. Follow the pattern to make ears, arms, legs, tails, and other features. These are usually worked separately and attached later.
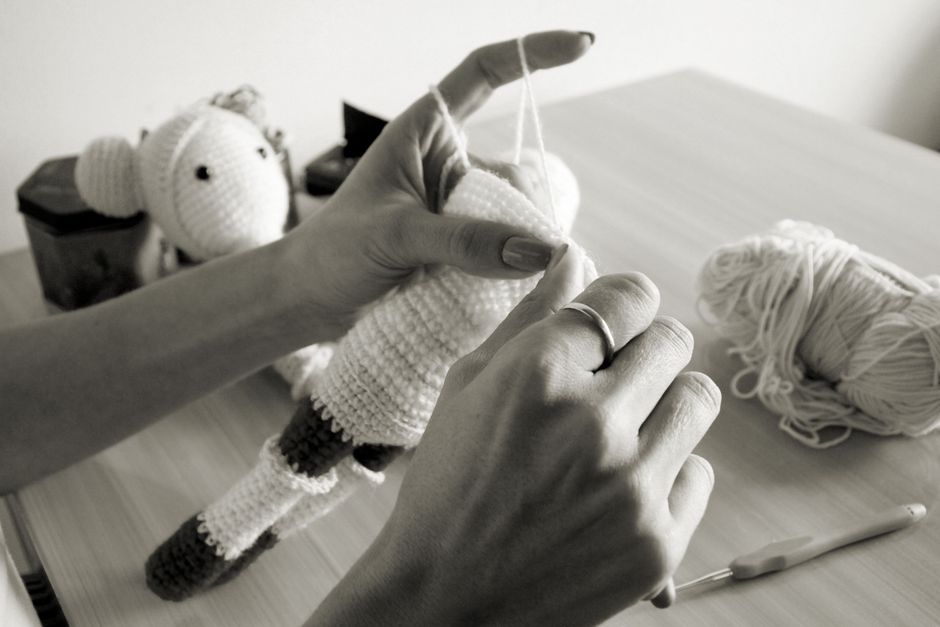
Step 5: Assembly and finishing. Pin pieces in place before sewing to ensure proper positioning. Use the yarn tail from each piece or a matching strand to whipstitch parts securely to the body. Add safety eyes before closing the head completely, or embroider facial features after assembly.
Just as traditional handicrafts have been passed down through generations, amigurumi connects modern crafters to a rich history of handmade art while allowing individual creative expression. If you prefer learning visually, our Complete Guide to Amigurumi Tutorial Videos offers step-by-step guidance.
Tips for Professional-Looking Results
Elevating your amigurumi from beginner projects to polished pieces requires attention to detail and practice. These techniques help achieve professional results:
Maintain consistent tension: Even stitches create smooth, uniform fabric. If your tension is too loose, stuffing shows through. Too tight makes fabric stiff and difficult to work. Practice helps develop consistent tension naturally.
Use invisible decreases: This technique prevents the “X” appearance of standard decreases, creating smoother shaping. Insert your hook through the front loops only of the next two stitches, yarn over, pull through both loops, yarn over, and pull through both loops on the hook.
Count your stitches: Verify the stitch count at the end of each round, especially when increasing or decreasing. Misplaced stitches compound in later rounds, distorting the final shape.
Weave in ends carefully: Secure yarn tails by weaving them through several stitches in different directions, then trim close to the work. This prevents pieces from coming apart over time.
Block if necessary: Some amigurumi benefit from light blocking to even out stitches. Pin the piece to shape and lightly steam or dampen, allowing it to dry completely.
Troubleshooting Common Challenges
Even experienced crocheters encounter challenges when making amigurumi animals. Here’s how to address common issues:
Gaps at the magic ring: Pull the tail tighter after completing the first round, and work the first few increases snugly. You can also weave the tail through the center stitches to close any remaining gap.
Lumpy or uneven stuffing: Add small amounts of fiberfill at a time, distributing it evenly. Use the blunt end of a crochet hook or stuffing tool to push filling into appendages and corners.
Pieces not sitting properly: The position and angle of attachment dramatically affect the final appearance. Pin pieces in place and view from multiple angles before sewing. Slight adjustments can make significant differences.
Difficulty seeing stitches: Good lighting is essential, especially when working with dark yarn. Natural daylight or a bright craft lamp helps identify stitch placement. Similar to how proper sleep environment conditions enhance rest quality, appropriate lighting conditions improve your crafting experience and stitch accuracy.
Conclusion
Making amigurumi animals combines creativity, skill development, and the joy of bringing adorable handmade creatures to life. Whether you’re creating gifts for loved ones or building a collection of your own crocheted companions, each project offers opportunities to refine techniques and express your artistic vision. Start with simple patterns to build confidence, practice fundamental techniques until they become second nature, and gradually tackle more complex designs as your skills progress. With thousands of patterns available, detailed tutorials, and a supportive crafting community, you have everything you need to succeed in your amigurumi journey. Pick up your hook, choose your first pattern, and discover the rewarding world of crocheted animals today.