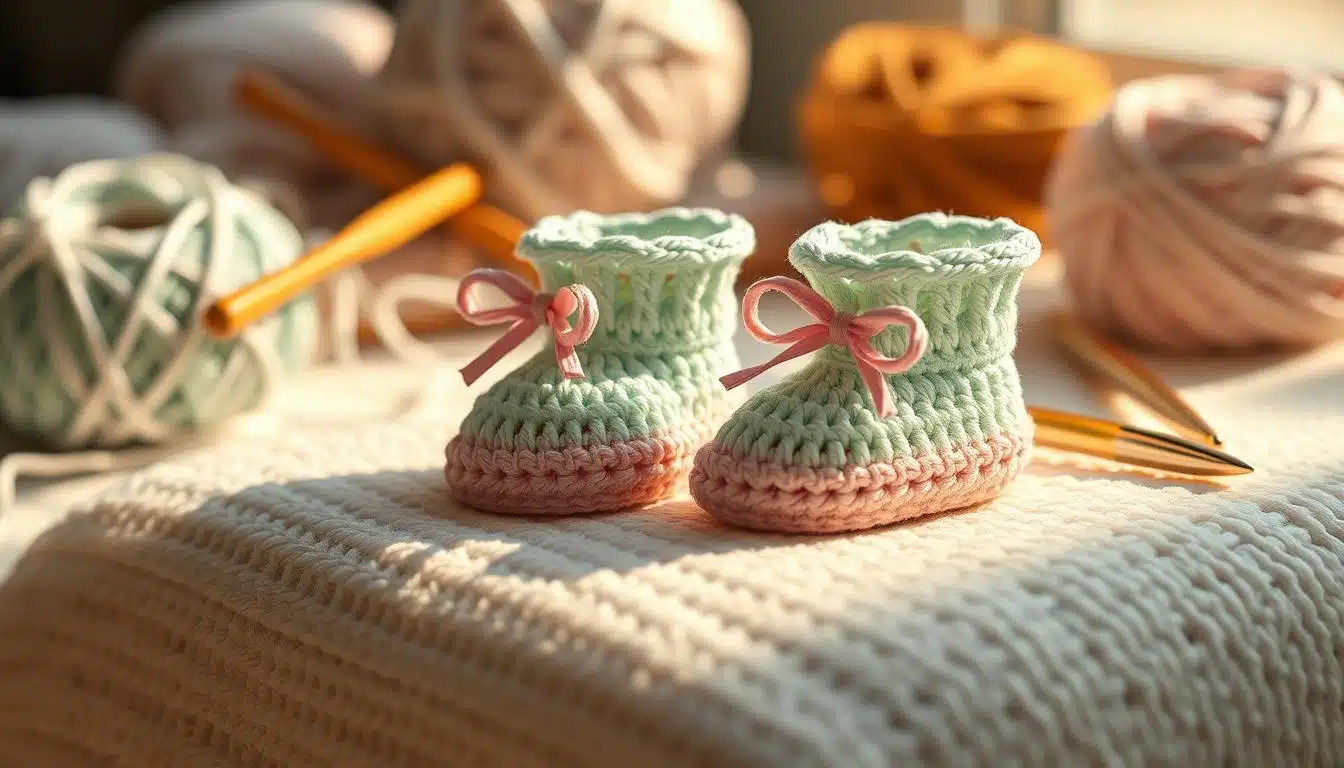
You’re about to learn a simple baby booties pattern. It’s quick and easy to follow. This guide uses US terms and covers sizes from newborn to 9–12 months. You can make tiny shoes for every stage with just a few steps.
The design is all about classic fold-down cuff booties. They look great with little effort. This pattern is perfect for beginners or those who want a fast project.
Key Takeaways
- The tutorial covers newborn through 9–12 months using US crochet terminology.
- Pattern is quick and seamless—ideal for last-minute gifts and baby showers.
- Design focuses on fold-down cuff booties for a timeless look.
- Includes yarn and hook recommendations, gauge targets, and stitch counts.
- Free baby booties pattern resources include a video tutorial and printable PDF options.
Why These Fast Crochet Baby Booties Work for You
You’re looking for a pattern that’s easy, quick, and looks great. These beginner crochet booties use simple US stitches. You won’t have to search for hard-to-find abbreviations.
The instructions are short, clear, and easy to follow. Even if you’re new to crocheting, you can follow along.
Beginner-friendly design
This pattern uses stitches like double crochet and single crochet. You’ll also learn slip stitch, back loop double crochet, and dc2tog. Each stitch is explained so you know exactly what to do next.
The pattern creates a reliable shape. It helps build your confidence and teaches you skills you’ll use again.
Quick-to-make pattern for last-minute gifts
These booties are quick to make. Experienced crocheters can finish a pair in just a couple of hours. They’re perfect for a last-minute baby shower gift.
If you want to make a matching hat, check out crochet newborn hats. It’s a great way to complete a thoughtful gift set.
Classic fold-down cuff style that suits boys and girls
The design creates natural fold-down cuff booties. The cuff looks good on both boys and girls. It’s neat with or without trims.
The cuff folds the same way for all sizes. This means you get a classic look every time.
Customizable details: colors, trims, and embellishments
You can make these booties your own by changing yarns. Try Premier Basix DK, Cascade 220 Superwash, or Stylecraft Special DK. Add buttons, bows, or colorblocking for a personal touch.
The pattern is designed to let you add your own creative touches. You can do this without changing the basic stitch counts.
Materials and Tools You’ll Need
Before starting, get the right materials for a smooth project. Choose a yarn that’s soft and can be machine-washed. Deramores Studio Baby Soft DK Acrylic is a great choice. It’s silky, anti-pilling, and makes several pairs from one skein.
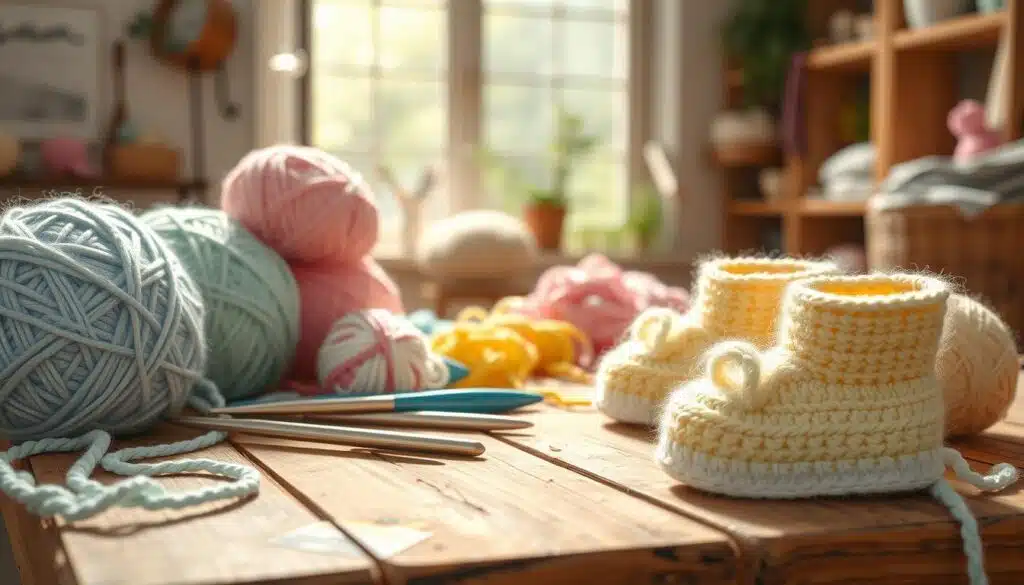
Recommended yarn types and substitutes
Go for Category #3 / light worsted / DK / 8-ply weight for warmth and flexibility. Consider Premier Basix DK, Cascade 220 Superwash, or Paintbox Yarns Simply DK as alternatives. Make sure they’re soft and machine-washable for babies.
Always check the yarn label for care and fiber content. Superwash wool blends are okay if they say easy to wash. Avoid very fine threads that might be too delicate.
Hook sizes for different baby ages
Match your hook size to the yarn and baby’s age for the right fit. Here’s a quick guide:
| Age | Recommended Hook | Notes |
|---|---|---|
| Newborn | 3.0 mm | Smaller hook for tighter fabric and tiny feet |
| 0–3 months | E / 3.5 mm | Common choice for newborn patterns |
| 3–9 months | G / 4.0 mm | Many crocheters favor G-6 (4 mm) for balance |
| 9–12 months | 7 / 4.5 mm | Larger hook for a slightly looser fabric and growth room |
Optional tools: stitch markers, yarn needle, baby shoe inserts
Good tools make crocheting faster and easier. Use stitch markers, a bent-tip yarn needle, and sharp scissors. For shaping or gifting, baby shoe inserts are helpful.
For more tips and a materials list, check out this guide on how to crochet baby booties. It’s great for beginners and pairs well with resources from Crochet Craze.
Care considerations: machine-washable and anti-pilling yarn
Choose yarns that can be washed often and stay soft. Acrylic blends and superwash wools are good for babies. Look for anti-pilling and easy washing symbols.
Test a small swatch in a wash cycle to check colorfastness and durability. The right yarn and tools make your booties practical, pretty, and ready for cuddles.
Understanding Gauge and Sizing for Baby Booties
Getting the gauge right is key to avoid oversized slippers or hard-to-put-on shoes. Start by making the first two rounds of the size you want. Then, measure the sole. This quick check saves time and keeps stitch counts accurate, making it easier to follow the pattern.
How to check gauge with first two rounds
First, work rounds 1 and 2 exactly as the pattern says. Lay the sole flat and measure from heel to toe. If your measurement matches the pattern’s target, you can keep going. If not, you’ll need to adjust before moving on.
Sole length targets by age (Newborn to 9–12 months)
Match your measured sole to these targets for a predictable fit:
- Newborn (3 mm hook): 3” (8 cm)
- 0–3 months (E / 3.5 mm): 3.5” (9 cm)
- 3–6 months (G / 4 mm): 4” (10 cm)
- 6–9 months (G / 4 mm): 4.5” (11 cm)
- 9–12 months (Size 7 / 4.5 mm): 4.75” (12 cm)
Adjusting hook or yarn to meet gauge
If your baby booties are too small, try a bigger hook or heavier yarn. If they’re too big, go down a hook size or choose a lighter yarn. Use Craft Yarn Council categories to find the right yarn weight and drape.
Checking crochet gauge early saves you from rework later. Adjusting gauge? Recheck the first two rounds to ensure the new measurement fits the intended sole length. Accurate gauge means you can trust the pattern’s stitch counts and shaping.
crochet baby booties Pattern Overview
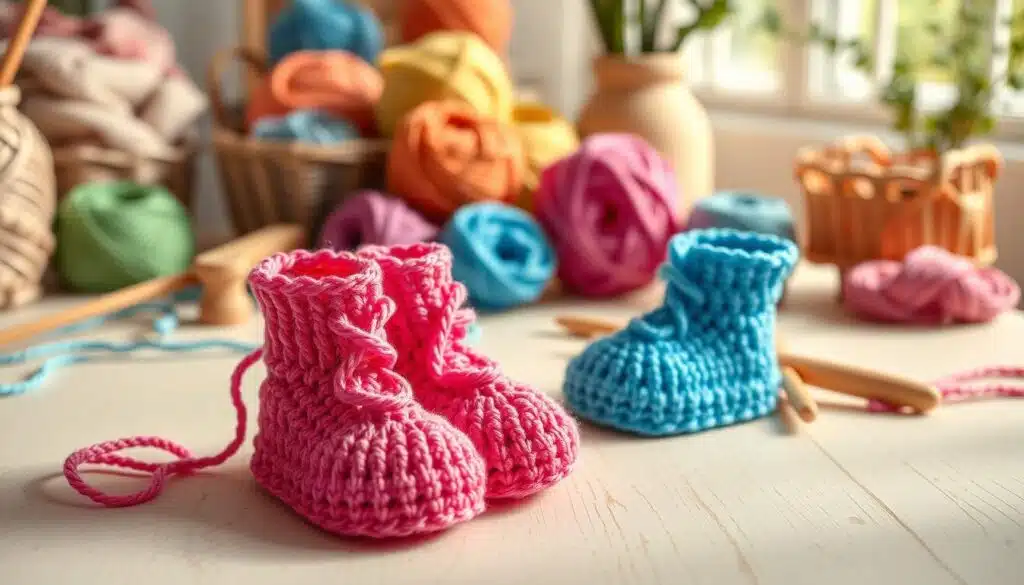
Are you ready for a quick and charming project? This guide will show you what to expect. It covers how to follow the instructions and the key techniques. It’s perfect for beginners to intermediate makers, following Craft Yarn Council’s guidelines.
The pattern uses US crochet terms. You’ll see abbreviations like beg, BLdc, ch(s), dc, dc2tog, fasten off, sc, sl st, and st(s). Remember, round-beginning chains (ch1 or ch3) don’t count as stitches. Join rounds with a slip stitch into the first dc or sc. A stitch marker helps track round starts when working in rounds.
Project level and terminology (US crochet terms)
The language is straightforward, and abbreviations are clear. Pattern notes focus on US crochet terms and gauge checks for sizing. If you’re used to Red Heart or Lion Brand patterns, you’ll find this layout familiar.
Pattern structure: sole, mid section, toe shaping, upper/cuff
The baby booties have four main parts. The sole starts with a small chain (ch 11 for smaller sizes, ch 13 for larger) and grows into an oval. Increase rounds add to the size.
The mid section uses back loop only double crochet to add rise without bulk. Toe shaping involves rounds of decreases, like dc2tog, mixed with sc rounds for shaping. The upper and cuff are worked in rounds of single crochet, building height that folds down into a cuff.
Working in rounds and using stitch markers
All sections are worked in rounds. Start each round with ch1 or ch3 that don’t count as stitches. Place a stitch marker in the first dc or sc to mark the beginning. Join with a sl st at the end of the round to keep stitch counts accurate.
For a printable, ad-free version or a step-by-step video, check out the full pattern and tutorial here: fast crochet baby booties pattern.
| Section | Key Technique | Notes |
|---|---|---|
| Sole | Increase rounds | Start ch11 or ch13; target counts range from ~28 to ~48 sts depending on size |
| Mid section | BLdc (back loop only) | Creates rise and a snug fit without extra bulk |
| Toe shaping | dc2tog and sc rounds | Decreases and round-by-round stitch counts shape the toe precisely |
| Upper / Cuff | Rounds of sc | Repeat rounds to desired height; fold down cuff as finished detail |
| Construction tip | Working in rounds | Use a stitch marker and join each round with sl st; starter chains do not count as stitches |
Step-by-Step Instructions for Newborn to 3–6 Months
You’re about to make a pair of baby booties. Follow each round carefully and mark the first stitch of each round with a stitch marker. These instructions will help you make the sole, mid section, toe, and cuff.
Sole — starting chain and increase rounds.
Begin with ch 11. Round 1: Make 1 dc in the 4th ch from the hook, then dc in the next 6 chs. Next, make 8 dc in the last ch. Continue on the other side with dc in the next 6, then 7 dc in the last ch. Join to make a total of 28 sts. Round 2: Start with ch3, then 2 dc in the same st. Follow with 1 dc in the next 6 sts, 2 dc in the next 8 sts, 1 dc in the next 6 sts, and 2 dc in the next 7 sts. Join to make a total of 44 sts. This sets the base for the newborn booties.
Mid section — back loop double crochets for shaping.
Round 3: Start with ch3, then BLdc in the same st, and BLdc in the next 43 sts. Join to make a total of 44 sts. Working in back loops helps create a gentle cuff rise and a snug midsection for 0-3 months booties.
Toe shaping — decreases and stitch counts per round.
Round 4: Start with ch1, then 1 sc in the same st, and 1 sc in the next 7 sts. Follow with (dc2tog) 8 times, then 1 sc in the next 20 sts. Join to make a total of 36 sts. Round 5: Start with ch1, then 1 sc in the same st, and 1 sc in the next 7 sts. Follow with (dc2tog) 4 times, then 1 sc in the next 20 sts. Join to make a total of 32 sts. Round 6: Start with ch1, then 1 sc in the same st, and 1 sc in the next 7 sts. Follow with (dc2tog) twice, then 1 sc in the next 20 sts. Join to make a total of 30 sts. Round 7: Start with ch1, then 1 sc in the same st, and 1 sc in the next 7 sts. Follow with dc2tog once, then 1 sc in the next 20 sts. Join to make a total of 29 sts. These decreases shape the toe for 3-6 months crochet booties.
Upper section and creating the fold-down cuff.
Round 8: Start with ch1, then 1 sc in the same st, and 1 sc in the next 28 sts. Join to make a total of 29 sts. Repeat Rounds 8–17 to build the height. After fastening off and weaving in ends, fold the upper down to create a classic cuff.
Finishing — fasten off, weave in ends, optional inserts.
Cut the yarn and fasten off securely. Work one chain, then pull through to leave a 5–6″ tail. Weave in ends with a yarn needle for flat seams. Optional: slip in plastic baby shoe inserts to shape the sole for storage or gifting. These final touches complete your newborn booties pattern, ensuring they look crisp and ready to wear.
| Step | Action | Stitch Count | Notes |
|---|---|---|---|
| Sole Round 1 | Work dc around starting chain | 28 sts | Start ch 11, join carefully to avoid twist |
| Sole Round 2 | Increase around for sole width | 44 sts | Place increases evenly for smooth curve |
| Mid Section (Round 3) | BLdc around | 44 sts | Back loop work creates snug rise |
| Toe Shaping R4 | sc and dc2tog decreases | 36 sts | Start shaping toe, keep tension even |
| Toe Shaping R5–R7 | Progressive dc2tog decreases | 32 → 30 → 29 sts | Check counts each round with marker |
| Upper R8–R17 | Single crochet rounds to build cuff | 29 sts | Fold down after weaving ends for cuff |
| Finishing | Fasten off and weave ends | N/A | Leave 5–6″ tail for neat weaving; optional inserts |
Step-by-Step Instructions for 6–12 Months
It’s time to make your baby’s booties a bit bigger. These steps will help you get the right fit for older babies. Use a G (4 mm) or Size 7 (4.5 mm) hook if your swatch is tight. Make sure the sole is about 4.5″–4.75″ long for the perfect fit.
Adjusted starting chain and stitch counts
Start with ch 13 for bigger sizes. Round 1 (larger): 1 dc in 4th ch from hook, then 1 dc in next 8 chs. Next, 8 dc in last ch, then 1 dc in next 8 chs, and 7 dc in last ch. Join to make 32 sts. Round 2: Ch3, 2 dc in same st, then 1 dc in next 8 sts. Next, 2 dc in next 8 sts, then 1 dc in next 8 sts, and 2 dc in next 7 sts. Join to make 48 sts.
Mid section and maintaining stitch counts
Round 3: Ch3, BLdc in same st, then BLdc in next 47 sts. Join to make 48 sts. Working back loop only makes the rise gentle. This is perfect for active babies. Keep your tension even to keep the footbed flat and comfy.
Toe shaping for larger sizes and rounds to follow
Round 4: Ch1, 1 sc in same st, then 1 sc in next 9 sts. Next, (dc2tog) 8 times, then 1 sc in next 22 sts. Join to make 40 sts. Round 5: Ch1, 1 sc in same st, then 1 sc in next 9 sts. Next, (dc2tog) 4 times, then 1 sc in next 22 sts. Join to make 36 sts. Round 6: Ch1, 1 sc in same st, then 1 sc in next 9 sts. Next, (dc2tog) twice, then 1 sc in next 22 sts. Join to make 34 sts. Round 7: Ch1, 1 sc in same st, then 1 sc in next 9 sts. Next, dc2tog once, then 1 sc in next 22 sts. Join to make 33 sts. These decreases shape the toe without adding bulk, perfect for larger sizes.
Upper rounds and cuff finishing for older infants
Round 8: Ch1, 1 sc in same st, then 1 sc in next 32 sts. Join to make 33 sts. Rounds 9–17: Repeat Round 8 to reach your desired cuff height. Fasten off and weave in ends. Fold the top to form a neat cuff that stays put on wriggly feet.
Quick tips: test the sole against a measuring tape before final rounds. If you need extra room, use the 4.5 mm hook and follow the larger baby booties pattern counts. Your finished pair of 6-12 months booties should look snug, not tight, and comfy for every little adventure.
Tips, Troubleshooting, and Pro Tricks
You’re almost there with your baby booties. A few tips can save you time and make your work look professional. Read these notes and use the quick fixes if things go wrong.
Common mistakes and how to fix them
Many crocheters struggle with counting starter chains. Remember, the ch1 or ch3 at the start doesn’t count as a stitch. When counting end-of-round stitches, skip that chain to fix errors quickly.
Did you miss the join? Slip stitch into the first dc or sc, not the chain. Use a stitch marker in that first dc/sc to avoid losing it. If the sole seems short, re-measure after two rounds and adjust your hook or yarn weight as needed. These are common fixes.
How to make the pattern seamless with no sewing
Work in continuous rounds and use slip stitch joins and back-loop double crochet shaping. This creates seamless baby booties without side seams.
For invisible finishes, use a bent-tip yarn needle to weave ends into the inside sole or cuff. This keeps the outer fabric smooth and safe for babies.
Personalization ideas
Add personality with small, baby-safe buttons, felt bows, tiny pom-poms, or embroidered initials. Try colorblocking by changing yarn at a round boundary, like before Round 8 for a bold cuff. These ideas make your booties unique and ready for gifting.
Printable pattern and video follow-along options
Use an ad-free printable PDF for crocheting on the go. For step-by-step guidance, a video tutorial can help with shaping and decreases. Join Facebook groups or Instagram communities to share, ask questions, and get feedback.
Quick pro trick: for toe decreases, work each dc2tog carefully: yarn over, insert hook, pull up a loop, yarn over and pull through two, repeat in next stitch, then finish. This prevents lumpy decreases and keeps the toe tidy.
Caring for Finished Baby Booties and Gift Presentation
You’ve finished the booties and they look adorable. Now, treat them right so they stay soft and keep their shape. Follow simple baby yarn care steps and your handiwork will last through cuddles and photos.
Washing and drying recommendations
Always check the yarn label first; many brands like Deramores Studio Baby Soft DK list washing instructions on the ball band. For acrylic yarns, you can usually machine wash and tumble dry on low. For superwash wool, use a gentle cycle with cold or warm water and either tumble low or lay flat to dry to avoid felting.
Use a mild, baby-safe detergent and skip bleach or harsh cleaners. If you prefer extra caution, place booties in a mesh laundry bag before the wash. When in doubt, hand-wash gently and reshape while damp.
Storage tips to keep softness and shape
Store booties flat or use small plastic shoe inserts to preserve sole shape. Keep them in a breathable fabric bag or a small box to avoid crushing. Avoid prolonged sunlight that fades colors and steer clear of damp spots that invite mildew.
If you plan to store sets long-term, slip a small lavender sachet or cedar piece nearby for scent and moth resistance. For quick sales or craft fairs, display pairs on clear forms to help customers picture the fit; this helps when you store or store crochet booties for sale.
Creative gift-wrap ideas
Presentation makes a handmade gift feel luxe. Nestle a pair in organza or a decorative box and add a handwritten tag with size and wash tips. Tie a ribbon through the cuff or weave it through a row for a peek-a-boo bow.
Build a set by pairing booties with a matching hat or blanket and include a printed pattern or care card. For market sellers and online photos, consider using a Clear Plastic Baby Feet Display when you photograph or store crochet booties to show shape and scale. For clever baby-shower treats, attach a single bootie to a gift card or tuck pairs into tissue in a keepsake box.
Want a ready reference for finishing steps and presentation props? See the pattern notes and display suggestions at crochet baby booties pattern and check safety tips at crochet toy safety to round out your package before you gift-wrap baby booties.
Conclusion
You now have a clear guide to making crochet baby booties. The pattern summary shows how to go from sole to upper. This way, you can make booties for newborns to 9–12 months easily.
Start with a machine-washable DK yarn like Deramores Studio Baby Soft DK. Choose the right hook size and check your gauge after the first two rounds.
Next, follow the stitch counts and use the printable PDF for help. If you like watching, there’s a video tutorial too. Join crochet communities on Facebook or Instagram for quick advice or tips.
With the right yarn and patience, you’ll make adorable baby booties. This pattern is easy to follow and perfect for gifts. You can make lots of pairs for showers or your stash, one stitch at a time.
FAQ
What sizes does this baby bootie pattern include?
This pattern covers sizes from newborn to 9–12 months. It includes stitch counts and sole length targets for each size. This ensures accurate fits.
What yarn weight and brands are recommended?
Use a Category #3 / light worsted / DK yarn. Recommended yarns include Deramores Studio Baby Soft DK and Premier Basix DK. Also, Cascade 220 Superwash, Paintbox Yarns Simply DK, Paintbox Baby DK, and Stylecraft Special DK are good choices. Choose soft, machine-washable, anti-pilling yarns for babies.
Which hook sizes should I use for each age?
Use a 3.0 mm hook for newborns. For 0–3 months, use an E / 3.5 mm hook. For 3–6 and 6–9 months, use a G / 4.0 mm hook. For 9–12 months, use a Size 7 / 4.5 mm hook. Adjust the hook size if your gauge is off.
How do I check gauge before continuing the pattern?
Work rounds 1–2 for your chosen size. Measure the sole length. Compare it to the pattern targets. If it’s too small, use a heavier yarn or a larger hook. If it’s too large, use a lighter yarn or a smaller hook.
What are the sole length targets for each size?
Sole targets are: Newborn 3″ (8 cm); 0–3 months 3.5″ (9 cm); 3–6 months 4″ (10 cm); 6–9 months 4.5″ (11 cm); 9–12 months 4.75″ (12 cm).
Are these booties worked flat or in the round?
The pattern is worked in rounds. Start each round with the specified ch1 or ch3. These do not count as a stitch. Join rounds with a slip stitch into the first dc or sc. Use a stitch marker to mark the first stitch for neat joins.
Is sewing required to finish the booties?
No. The design is seamless. You work continuous rounds, join with slip stitches, and only weave in ends. Optional plastic baby shoe inserts can be used for shaping, but no sewing is needed.
What basic stitches and abbreviations does the pattern use?
The pattern uses US crochet terms and basic stitches only. It includes dc, sc, sl st, BLdc, dc2tog, ch, and beg. Round-beginning chains (ch1/ch3) do not count as stitches.
How many rounds make the fold-down cuff?
The upper/cuff is built from Round 8 onward. Rounds 9–17 (or the equivalent number for larger sizes) create cuff height. This naturally folds down to form the classic cuff look.
How long does it take to make a pair?
The pattern is quick. Experienced crocheters can make a pair in a couple of hours. Beginners may take longer, but the stitches and rounds are straightforward and beginner-friendly.
Where can I find the full pattern, video tutorial, and printable PDF?
The source offers a free pattern with a step-by-step YouTube video tutorial. You can also buy an ad-free printable PDF. The pattern author retains copyright and provides community support options like Facebook groups.
How much yarn does one pair use?
One pair uses under ~50 g of DK yarn. A single 100 g skein will yield multiple pairs, depending on color changes and trims.
Can I customize the booties with colors and trims?
Absolutely. You can change colors, add buttons, bows, pom-poms, embroidery, or colorblock. Switch yarn at round boundaries (for example, change before Round 8 for a contrasting cuff).
What common mistakes should I watch for?
Common issues include counting the starter chain as a stitch, joining into the chain instead of the first dc/sc, and incorrect dc2tog technique for decreases. Use a stitch marker, recheck counts at the end of rounds, and measure gauge after rounds 1–2.
How should I wash and care for finished booties?
Use machine-washable, baby-safe yarns. Follow yarn label care: usually gentle cycle, cold or warm water, and tumble low or air-dry. Avoid bleach and harsh detergents. Superwash wool may need gentler drying to avoid felting.
What optional tools make the project easier?
Helpful tools include stitch markers, a bent-tip yarn needle for weaving ends, sharp scissors, and optional plastic baby shoe inserts to shape soles while storing or gifting.
If my sole measurement is off, what should I change?
If the sole is too small, use a larger hook or heavier DK yarn. If it’s too big, go down a hook size or choose a lighter DK yarn. Re-measure after rounds 1–2 until your sole matches the pattern target.
Are the stitch counts and round-by-round totals provided?
Yes. The pattern gives full round-by-round stitch counts for each size. It includes starting chains, increases for the oval sole, midsection BLdc counts, toe-shaping decreases, and upper/cuff rounds.
Is this pattern suitable for gift-giving and baby showers?
Yes. Its quick, seamless construction and classic fold-down cuff make it ideal for last-minute handmade gifts and baby-showers. Present them in an organza bag, decorative box, or paired with a matching hat for a sweet set.
Where can I get help if I get stuck?
Use the included video tutorial, printable PDF, and join online communities—Facebook groups and Instagram communities tied to the pattern author—for troubleshooting, tips, and inspiration.