
Every crocheter knows the moment. The last stitch is made, the project looks perfect, and then you turn it over and see a small collection of loose yarn tails waiting to be dealt with. For amigurumi makers especially, how those ends are handled can mean the difference between a polished, professional-looking piece and one that starts to unravel after a few weeks of love. Learning to weave in ends properly is one of the quiet skills that separates confident crocheters from frustrated ones, and the good news is that it is not difficult once you understand the principles behind it.
This guide covers everything you need to know about weaving in ends in crochet, from the basic tools and techniques to the specific challenges of amigurumi, the importance of locking stitches, and how to handle color changes and delicate fibers. Whether you are finishing your first small plushie or your fiftieth, there is something here to tighten up your finishing routine.
Why Weaving In Ends Matters More Than You Think
Loose ends are not just a cosmetic annoyance. An unsecured tail can work its way free through washing, stretching, and everyday handling, and when it does, the surrounding stitches can begin to loosen. In amigurumi, where pieces are stuffed firmly and often handled by children, a failing end can lead to a hole opening up or a limb detaching. Weaving in ends correctly distributes tension along the tail so that no single point of the yarn takes all the stress.
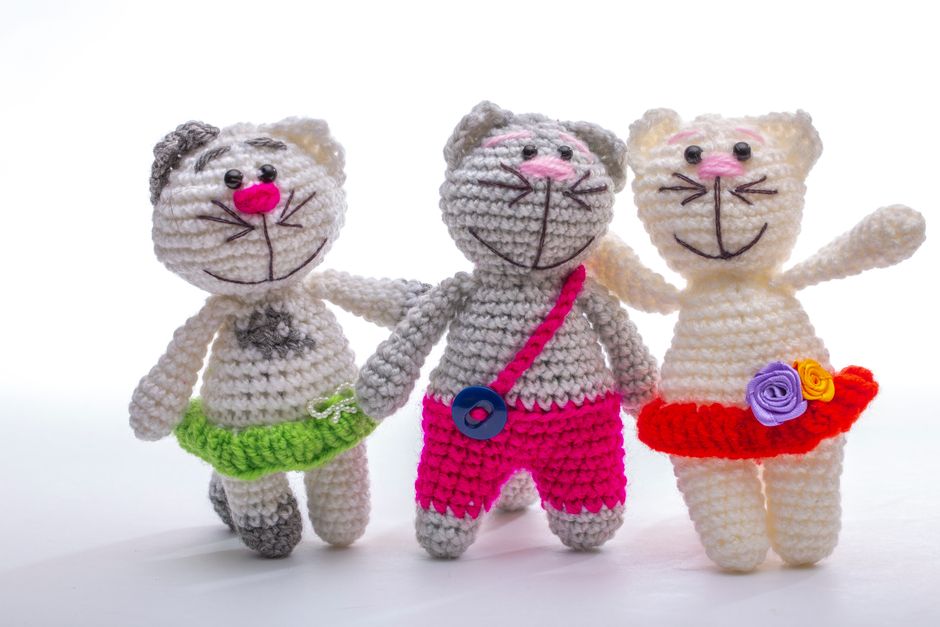
There is also a practical and aesthetic dimension. Amigurumi is typically worked in tight single crochet at a small gauge, which means there is less fabric available to hide a bulky knot or a sloppy tail. Neatly woven ends keep the surface smooth, which matters when you are photographing finished pieces for sale or gifting them to someone who will inspect every detail. Good finishing is what makes handmade work look handmade in the best sense, and if you are still building your skills, the best beginner crochet book in 2026 can walk you through these foundational techniques step by step.
Tools and Preparation Before You Weave
You do not need much equipment, but the right tools make the job easier and the result more secure.

- Tapestry needles (yarn needles): Blunt-tipped needles with a large eye are essential. Choose a size that slips easily through your stitches without stretching them.
- Small scissors or snips: Sharp, compact scissors let you trim close without accidentally catching nearby stitches.
- Optional: a spare crochet hook: A smaller hook can help pull stubborn tails through tight amigurumi fabric.
- Optional: fabric glue or felting needle: Some makers use a tiny dab of fabric-safe glue or lightly felt the tail into the stuffing for extra security, though this is a supplement to weaving, not a replacement.
Before weaving, leave yourself enough yarn. A tail of roughly 10 to 15 centimeters (4 to 6 inches) is a comfortable working length for most projects. Shorter tails are harder to thread and harder to weave securely. If you have already trimmed too short, you can still work with a needle, but take extra care to lock the end firmly.
If you are weaving in ends after finishing a piece that will be stuffed, do the weaving before you close up the final opening. That way you can reach the inside of the fabric and work the tail along the inner surface, which is especially useful for amigurumi where the outside needs to stay pristine.
The Core Methods for Weaving In Ends
Method 1: Weaving Through the Stitch Backs
This is the most common technique and works well for most crochet fabrics. Thread the tail onto your tapestry needle. Working on the wrong side of the fabric, insert the needle through the back loops of several nearby stitches, moving in a gentle zigzag rather than a straight line. The zigzag is important: a straight path creates a channel that a slippery yarn can slide along, while a change of direction creates friction that holds the tail in place. Aim to pass through three to five stitches in one direction, then reverse and pass through another few stitches at a slight angle. Gently stretch the fabric as you go so the tail does not pucker the surface, then trim the yarn close to the fabric.
Method 2: Following the Stitch Path
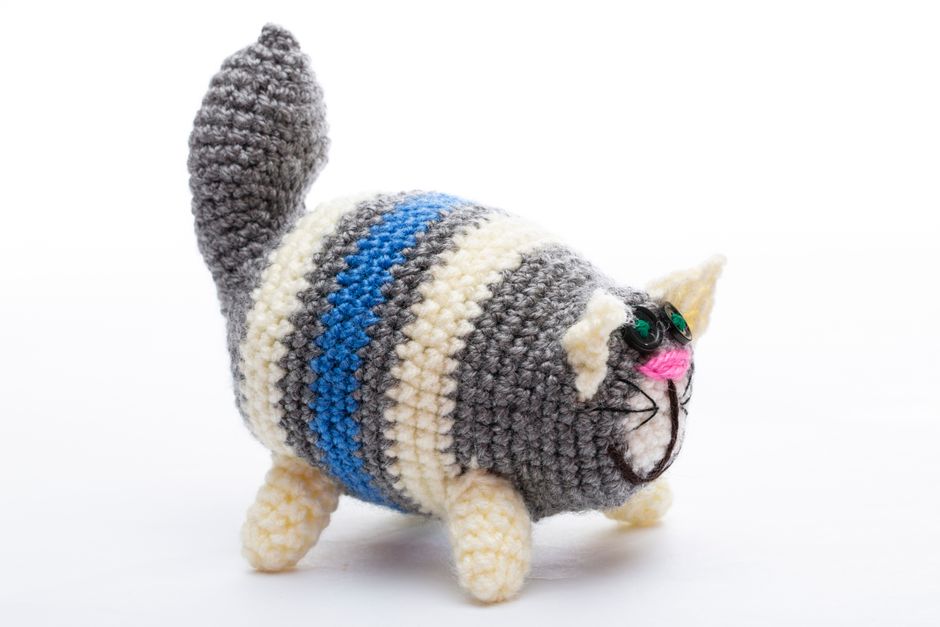
For a truly invisible finish, split the yarn of the stitches as you weave. Instead of passing under the back loops, insert the needle through the middle of the stitch, catching part of the yarn strand. This “split stitch” approach blends the tail into the existing fabric so thoroughly that it becomes nearly impossible to spot. It takes a little more patience, but it is the preferred method for amigurumi and any project where the wrong side may be visible. This same attention to detail pays off when you learn how to block crochet projects, since secure finishing and proper blocking together give your work its final professional polish.
Method 3: Weaving Along a Seam or Inside a Tube
When your piece has a seam, such as on a joined amigurumi body or a sewn-on limb, the seam itself is a perfect hiding place. Weave the tail along the inside of the seam for several centimeters, then anchor it with a small backstitch. For pieces worked in the round without a seam, weave the tail down through the center of the piece and into the stuffing cavity, then back up through the fabric at a different point to lock it. Never simply push a tail into the stuffing and leave it loose; stuffing can shift and expose the end.
Securing Ends in Amigurumi: Locking and Knots
Amigurumi demands more from your finishing than a scarf or a blanket. The tight gauge, firm stuffing, and frequent handling mean ends need extra security. Here is a reliable routine.
- Weave first, knot second (if at all). Weave the tail through several stitches using the split-stitch method. A knot alone can work loose over time, and a bulky knot can create a hard lump under the fabric.
- Create a locking pass. After weaving in one direction, pass the needle back through the same stitches in the opposite direction. This double pass creates a friction lock that holds far better than a single weave.
- Split the yarn strand. Before trimming, split the tail into two thinner strands and weave each in a slightly different direction. Two thin tails hide better and grip more effectively than one thick one.
- Trim close and check. Snip the yarn close to the fabric, then gently tug the surrounding stitches to confirm the end stays put. If it slips, weave a little further and try again.
For pieces that will be washed or given to young children, consider a tiny dab of clear, fabric-safe glue on the final woven section. Let it dry completely before stuffing or closing the piece. Some makers also use a felting needle to lightly tangle the tail into the surrounding fibers, which works particularly well with wool and other feltable yarns.
Handling Color Changes, Joins, and Tricky Yarns
Color changes in amigurumi, such as stripes on a plushie or a contrasting snout, create extra tails. The principle is the same: weave each color into a section of matching color so the tail does not show through. When changing colors, carry the old tail along the inside of the work for a few stitches before weaving it in properly, and weave the new tail in the same way once the color section is established. Avoid weaving a dark tail through light fabric, where any peeking strand will be obvious. If color transitions are new to you, our guide on how to change yarn colors in crochet covers the switching technique itself, so you can focus your attention here on hiding the resulting tails.
Joins present a similar challenge. If you joined a new ball of yarn mid-project, treat both the old and new tails as separate ends and weave them in opposite directions so they do not create a bulge in the same spot. For very slippery yarns such as mercerized cotton or silk blends, use longer weaving paths and more direction changes. For fuzzy or textured yarns, a shorter weave often suffices because the fibers grip each other naturally, but take care not to over-trim, since fuzzy yarns can shed and reveal a short tail.
Delicate or fine yarns, common in small amigurumi, need a light touch. Use a needle small enough not to split the stitches excessively, and stretch the fabric gently as you weave so the tension stays even. If you are working with thread or very fine cotton, the split-stitch method is your best friend.
Common Mistakes and How to Avoid Them
- Weaving in a straight line: This creates a channel the yarn can slide through. Always change direction.
- Trimming too short before weaving: Leave a generous tail, at least 10 centimeters, so you have room to work.
- Pulling too tightly: Overtightening the tail puckers the fabric. Stretch the work gently as you weave and let the yarn settle naturally.
- Relying on a knot alone: Knots can fail and create lumps. Weave, lock, and only then consider a small securing knot if needed.
- Leaving tails inside stuffing: Loose tails inside a stuffed piece can migrate. Always anchor them in the fabric.
- Weaving on the right side by accident: Double-check which side is the wrong side before you begin, especially on pieces with a distinct front and back.
It also helps to weave in ends as you finish each section rather than saving them all for the end. Amigurumi often involves multiple pieces, limbs, and color sections, and a pile of tails at the finish line is harder to manage than a few at a time. Weaving as you go also lets you check the security of each join while the piece is still easy to handle.
Conclusion
Weaving in ends is one of those skills that rewards a little care with a big payoff. A neatly finished amigurumi holds together through hugs, washes, and years of display, and the confidence of knowing your work is secure lets you focus on the fun part: designing and stitching your next creation. Start with a generous tail, use a blunt tapestry needle, weave in a zigzag or split-stitch path, lock the end with a return pass, and trim only when you are satisfied it will stay put.
At Crochet Craze, we know that finishing details are where beginners become experts. Our library of thousands of amigurumi PDF patterns, detailed tutorials, and step-by-step guides is built to support you at every stage, from your first magic ring to your most intricate finished piece. Explore our patterns, practice these weaving techniques on your next project, and enjoy the satisfaction of a beautifully finished handmade treasure.


