There is something deeply satisfying about turning a ball of yarn into a soft, huggable friend. DIY crochet plush toys, often called amigurumi, have become one of the most popular corners of the crafting world, and in 2026 the community around them is bigger and more welcoming than ever. Whether you want to make a gift for a child, stock a small handmade shop, or simply unwind with a hook and some cotton, this all-in-one guide walks you through the tools, stitches, techniques, and troubleshooting you need to go from total beginner to confident plush maker.
What Are Crochet Plush Toys?
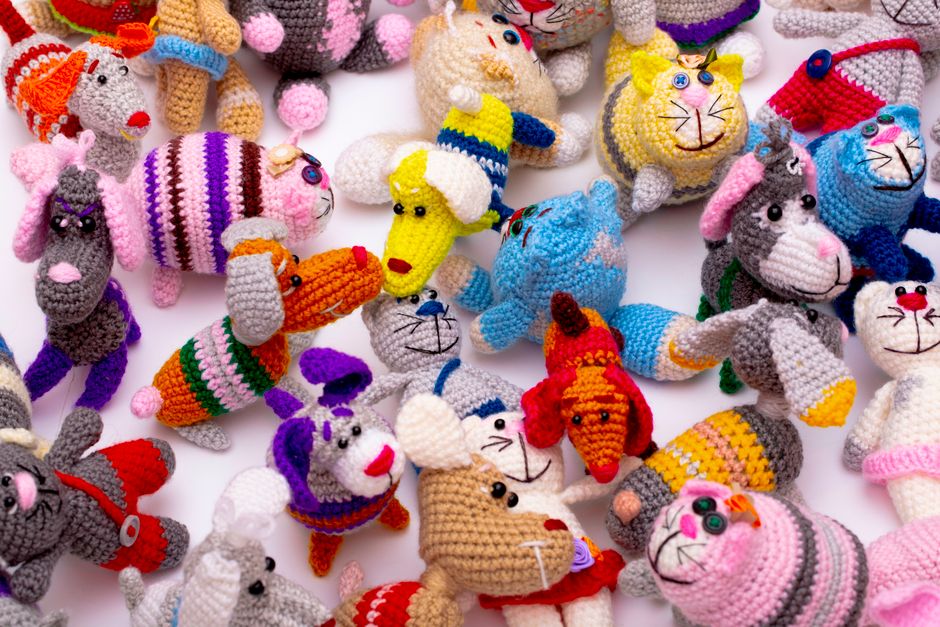
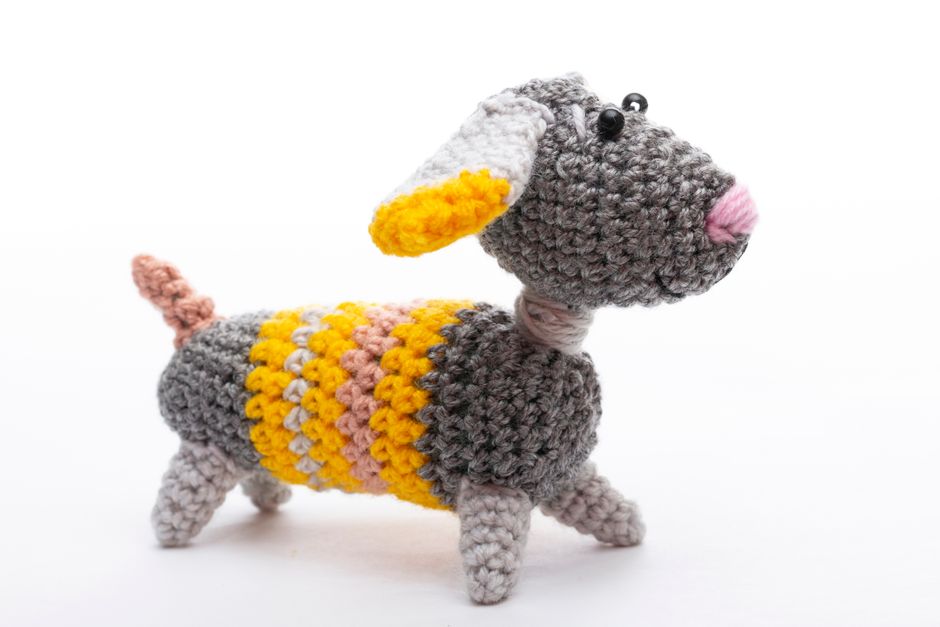
Amigurumi is the Japanese-inspired craft of crocheting or knitting small stuffed figures. The crochet version typically works in continuous rounds of single crochet, producing a dense, firm fabric that holds its shape and hides stuffing neatly. The result can be anything from a tiny keychain-sized bear to a full-size pillow-style animal.

What sets plush toys apart from other crochet projects is the combination of shaping and finishing. You are not just making fabric; you are engineering a three-dimensional form, then bringing it to life with safety eyes, embroidery, and careful stuffing. That mix of technical skill and creative character is exactly why so many makers fall in love with the craft.
Tools and Materials for DIY Crochet Plush Toys
You do not need a huge stash to get started, but choosing the right materials makes a noticeable difference to your finished toy.
- Yarn: Smooth, tightly spun yarn works best for amigurumi because it shows stitch definition and does not fuzz into a blur. Cotton and cotton-blend yarns are popular for their durability and crisp look. Acrylic is budget-friendly and soft, while chenille or velvet yarns create an extra cuddly texture but are harder for beginners to read.
- Hooks: Most amigurumi patterns use a hook one or two sizes smaller than the yarn label recommends. This tighter gauge prevents gaps that let stuffing peek through. Aluminum hooks with ergonomic handles are comfortable for long sessions.
- Stuffing: Polyester fiberfill is the standard choice. Use small, loose pieces rather than one large clump so the toy stays smooth and firm.
- Safety eyes and noses: These plastic components snap or screw into place and give toys their character. They are not recommended for items given to infants or pets, so plan alternatives such as embroidered features for very young children.
- Notions: A yarn needle for sewing pieces together, stitch markers to track round beginnings, small scissors, and pins for holding parts in place before joining.
If you are buying supplies for the first time, resist the urge to stock up on every color. A few neutral and skin-tone shades plus one or two accent colors will let you complete most beginner patterns. For guidance on picking the softest, most durable fibers, see our guide to the best yarn for crochet stuffed animals.
Essential Stitches and Techniques
Amigurumi relies on a surprisingly small vocabulary of stitches. Once you know these, you can make almost any pattern.
- Magic ring: An adjustable loop that lets you start working in the round with no hole in the center. It is the foundation of most plush patterns.
- Single crochet (sc): The workhorse stitch. Nearly every amigurumi piece is built from single crochet.
- Increase (inc): Two single crochet worked into the same stitch, used to shape wider sections.
- Decrease (dec): Combining two stitches into one, usually with an invisible decrease for a smoother surface. This closes openings and shapes limbs.
- Slip stitch (sl st): Used to join rounds, fasten off, and sometimes to create small details.
- Chain (ch): Often used at the start of flat pieces or to begin arms and legs.
Beyond stitches, two techniques deserve early practice. First, learn to work in continuous spirals without joining rounds, since most patterns are written this way. Second, practice the invisible decrease, which hides the reduction on the right side of the fabric and gives your toy a cleaner finish. Our invisible decrease amigurumi guide walks through it step by step.
Consistent tension matters more than speed. A slightly tight, even gauge is the difference between a plush that looks polished and one that shows its stuffing.
Reading Amigurumi Patterns and Choosing Your First Project
Amigurumi patterns are usually written in rounds with abbreviations and repeat brackets. A line like “sc 2, inc, repeat around” tells you the sequence for that round. Counting your stitches at the end of each round is a habit worth building, because a single missed stitch can throw off the symmetry of a whole piece.
For a first project, choose something small with few assembled parts. A simple ball-shaped creature, a jellyfish, or a basic bear head teaches the core skills without requiring you to sew multiple limbs at odd angles. Save multi-part animals with color changes and tiny accessories for your second or third project.
Pattern libraries such as Crochet Craze offer thousands of downloadable amigurumi PDFs with step-by-step instructions, which can be helpful when you want a tested pattern rather than piecing together free tutorials. Reading through a pattern completely before you begin also helps you spot techniques you may need to look up in advance — our tutorial on how to read amigurumi patterns is a good place to start.
Step-by-Step: Making Your First Plush Toy
Here is a practical workflow that applies to almost any amigurumi project.
- Gather and read. Print or open the pattern, collect your yarn and hook, and read the whole thing once.
- Make a gauge swatch if size matters. For toys, gauge is less about exact measurements and more about fabric density. If your swatch feels loose, drop a hook size.
- Crochet the pieces. Work the body, head, limbs, and any accessories as separate pieces, keeping track of rounds with a stitch marker.
- Stuff as you go. For larger pieces, begin stuffing before the opening gets too small. Firm but not rock-hard is the goal.
- Assemble with care. Pin parts in place first, then sew with a yarn needle using small, even stitches. Symmetry is easier to check before you commit to thread.
- Add the face. Place safety eyes or embroider features last, once the head is stuffed and shaped. Mark positions with pins and step back to check the expression.
- Finish and tidy. Weave in all ends, trim fuzz, and give the toy a gentle squeeze to distribute stuffing evenly.
Beginners often rush the assembly stage, but this is where a homemade toy gains its personality. Take your time sewing, and do not be afraid to unpick a limb that sits at the wrong angle.
Common Problems and How to Fix Them
Even experienced makers run into the same handful of issues. Here is how to handle them.
- Stuffing shows through: Your gauge is too loose or your hook is too large. Try a smaller hook, or line the inside with a scrap of fabric before stuffing.
- Visible gaps at increases: Work into both loops and keep tension even. Some makers alternate the placement of increases to avoid a hexagonal shape.
- Lopsided head or body: Count stitches each round and check that increases and decreases are distributed as the pattern specifies.
- Limbs that flop: Stuff limbs firmly, and sew them on with multiple passes through the body rather than a single ring of stitches.
- Unraveling ends: Leave long tails when fastening off, then weave them back and forth through the inside of the piece instead of knotting.
If a toy does not turn out exactly as planned, set it aside and start the next one. Skill in amigurumi comes from repetition, and most makers see a clear improvement between their first and third projects.
Safety, Care, and Gifting Your Plush Toys
Handmade toys deserve thoughtful finishing. For gifts intended for babies or pets, skip plastic safety eyes and embroider all facial features with yarn, since small components can become a choking hazard. Secure any sewn-on parts with extra stitching, and avoid long loose strands inside the stuffing.
For care, most amigurumi toys can be surface cleaned with a damp cloth and mild soap. If a toy is machine washable, place it inside a pillowcase or mesh bag on a gentle cycle, then reshape and air dry. Always check your yarn label for specific guidance.
When gifting, include a small note about materials and care. It adds a personal touch and helps the recipient keep the toy looking its best for years.
Conclusion
DIY crochet plush toys are one of the most rewarding projects a crafter can take on. With a few basic stitches, the right yarn and hook, and a willingness to practice assembly, you can create soft, characterful toys that feel genuinely special. Start small, read your patterns carefully, and do not worry if your first attempt has a crooked ear or an uneven snout. Every project teaches you something, and the amigurumi community in 2026 is full of makers and pattern resources ready to help you along the way. Pick up your hook, choose a simple pattern, and make your first plush friend this week.