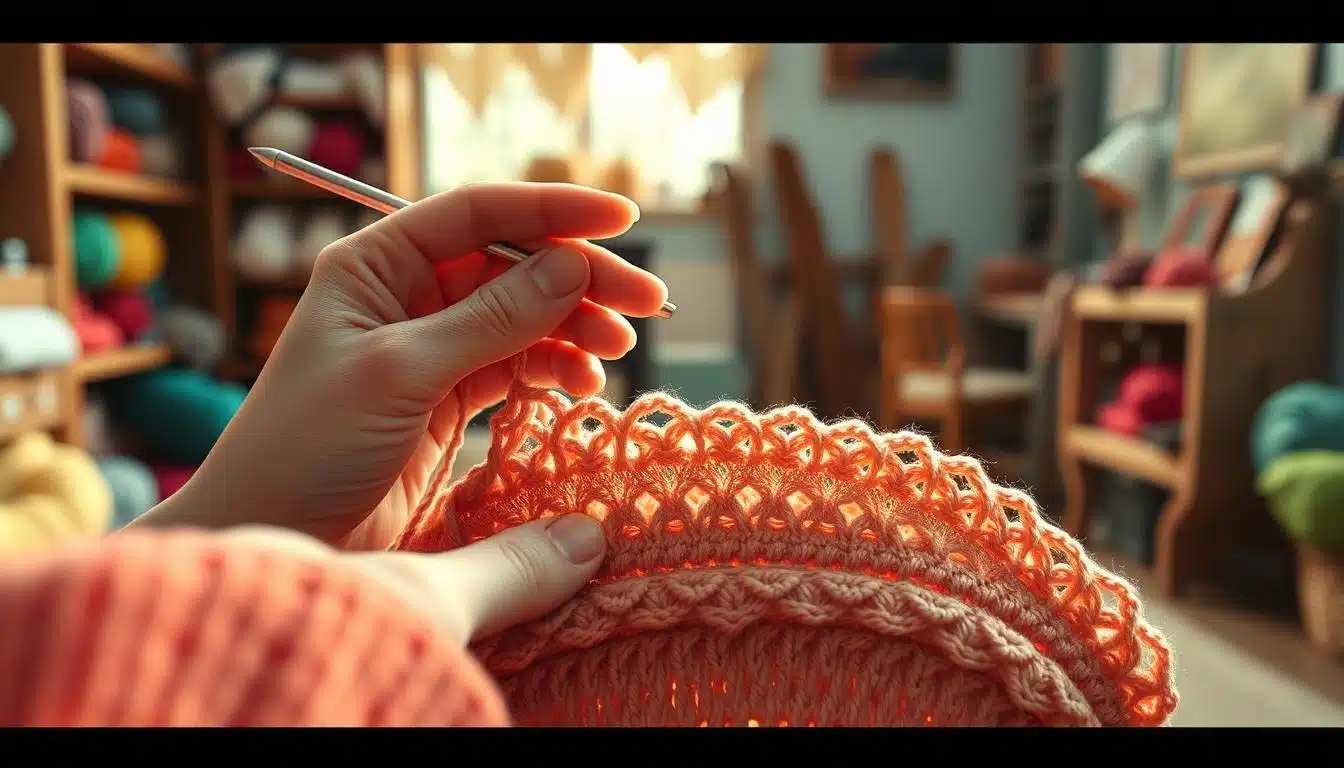
If you want neater amigurumi shaping, the invisible decrease crochet technique is a game changer. It closes rounds cleanly, cuts visible holes and bumps, and gives your toys a finish close to the Magic Circle effect. Many seasoned makers favor this amigurumi decrease for heads, limbs, and rounded shaping because it blends stitches into the fabric instead of leaving a telltale gap.
The invisible decrease works with Single Crochet (sc) in continuous rounds and often looks smoother than the standard sc2tog decrease. Think of it as a secret move advanced crocheters rely on; patterns don’t always say it aloud, but it quietly elevates your work. You’ll find it helps preserve shape, keeps decreases tidy, and produces seamless crochet decreases that read as professional on finished pieces.
Later in this guide you’ll see exactly how the invisible decrease differs from sc2tog, a careful step-by-step method, troubleshooting tips, and practice projects to build confidence. If you like visual demos, resources such as Nerdigurumi-style videos and clear photo sequences will be recommended, along with tutorials like the one at Cilla Crochets and related project ideas at Crochet Craze.
Key Takeaways
- Invisible decrease is ideal for amigurumi decrease work in continuous rounds.
- It creates seamless crochet decreases with fewer holes and cleaner shaping.
- Used mostly with Single Crochet, it often reads more professional than sc2tog.
- Many advanced crocheters prefer it even when patterns don’t mention it.
- Visual tutorials and practice projects speed up mastery.
Why Invisible Decrease Crochet Makes a Difference for Amigurumi
You want your amigurumi to look smooth and handmade, not like it was stitched by a medieval pooka. The invisible decrease is a single crochet decrease worked under the front loop only of two stitches. This simple change hides the decrease inside the fabric, keeping the curve neat and the stuffing quiet.
What the invisible decrease is and how it differs from sc2tog
The invisible decrease involves inserting the hook under the front loop of two stitches, then yarn over and pulling up a loop. You finish with a single crochet. sc2tog, on the other hand, uses both loops of each stitch and pulls through multiple loops. This can leave a visible seam or small gaps.
Benefits: fewer holes, smoother shaping, and a professional finish
Choosing the invisible decrease helps reduce holes in amigurumi and keeps joins tight. It prevents stuffing from peeking through decrease points. This results in smoother shaping on heads, bodies, and limbs, leading to a professional finish that holds up well.
When to choose invisible decrease vs. standard decrease in patterns
Use invisible decrease for most pieces worked in continuous rounds. It counts as one stitch decrease and fits where round decreases are called for. Opt for standard sc2tog if a pattern needs a visible line or when shaping flat corners. If a pattern explicitly calls for the standard decrease, follow it. But you can swap in the invisible decrease for subtler shaping when you want.
| Feature | Invisible Decrease | sc2tog / Standard Decrease |
|---|---|---|
| Loop insertion | Front loop only | Both loops |
| Visibility on surface | Low; blends into stitches | Higher; may create a line or bump |
| Likelihood to reduce holes in amigurumi | High; tight finish | Moderate; can leave tiny gaps |
| Best use cases | Heads, bodies, limbs, rounded shaping | Flat pieces, corners, decorative lines |
| Skill level to attempt | Beginner-intermediate; easy with practice | Beginner; common technique |
| Resulting look | Professional crochet shaping with smooth curves | Visible decreases that can be stylistic |
Understanding Front Loops and Back Loops for Cleaner Decreases
Before you start, learn about the basic stitch parts. In amigurumi, the front loop is on the outside, closest to you. The back loop is the inner part, hidden inside the toy. This difference is key for a clean finish.
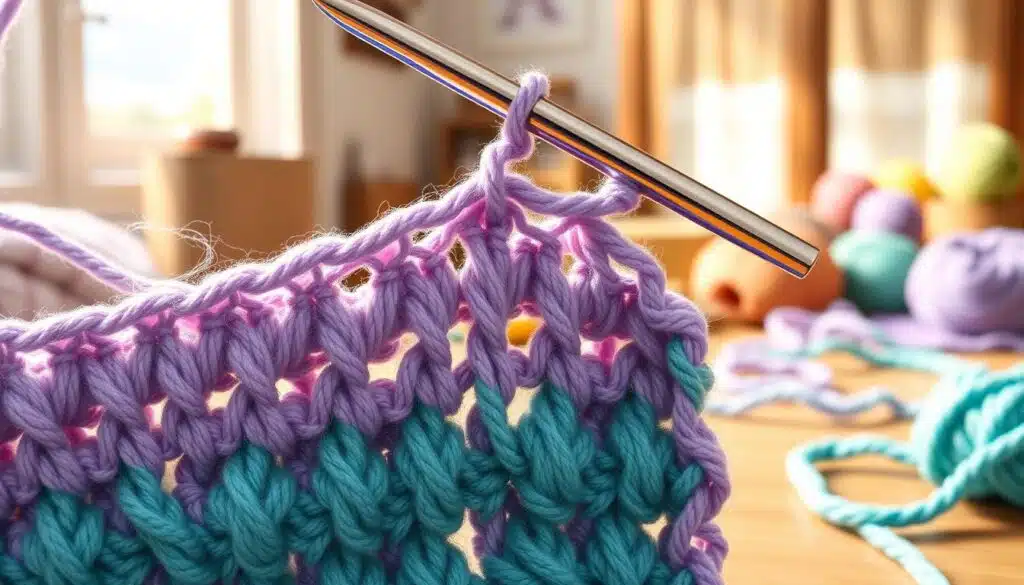
To find loops, let your hook skim the top of a stitch. The outer ridge is the front loop; the inner is the back loop. Practice finding the front loop slowly. Checking each round helps build your skill.
Working just the front loops of two stitches creates a seamless decrease. The back loops are hidden, making the join almost invisible. This method avoids the gap sc2tog can cause.
Be sure of the right side facing out. If not, the decrease will show and look uneven. Always check the right side wrong side amigurumi before decreasing.
Remember these tips: feel for the outer ridge, practice finding the front loop, and check the orientation. These steps help achieve a professional look.
Step-by-Step Guide to the Invisible Decrease
Ready to improve your amigurumi skills? This guide shows you how to do invisible decreases in simple steps. Follow these steps to see smoother joins and fewer holes in your work.
Start by choosing a hook that fits your yarn. If your fabric looks loose, try a hook one size smaller. Keep your tension tight, a bit tighter when decreasing. Use a stitch marker at the start of rounds to mark decrease spots easily. An X-shaped single crochet can help hide gaps as you practice.
Insert under front loop only
Insert the hook under the front loop only of the next stitch. Then, insert it under the front loop only of the following stitch. You’ll have three loops on the hook: two front-loop pulls plus the working loop. This step is key to invisible decreases, reducing visible distortion.
Yarn over and finish cleanly
Yarn over, pull through the first two loops on the hook. Then, yarn over again and pull through the remaining two loops. This completes one stitch and lowers your stitch count by one without a gap. Keep a firm tension through the last pull to close the stitch neatly.
Avoiding gaps
If you see holes, tighten your tension slightly or use a smaller hook. Try an X-shaped single crochet before decreasing to firm the area. Watching the motion in slow motion while practicing helps, as rhythm is as important as placement.
Practice and video resources
Practice invisible decreases on a scrap ball until it feels natural. For detailed demonstrations, watch Nerdigurumi’s invisible decrease demo and pause to mimic hand position. You can also check a helpful troubleshooting guide at crochet troubleshooting for tips on working with dark yarn.
Quick checklist of invisible decrease tutorial points
- Choose slightly tighter tension or a smaller hook.
- Use a stitch marker to track rounds and decrease spots.
- Insert under front loop only for two consecutive stitches.
- Yarn over, pull through two, yarn over, pull through two.
- Practice with video pauses and close-up views until comfortable.
Common Mistakes and How to Fix Them
Even after years of crocheting, you can make invisible decrease mistakes. A few simple checks can stop most errors. This keeps your amigurumi looking smooth and professional.
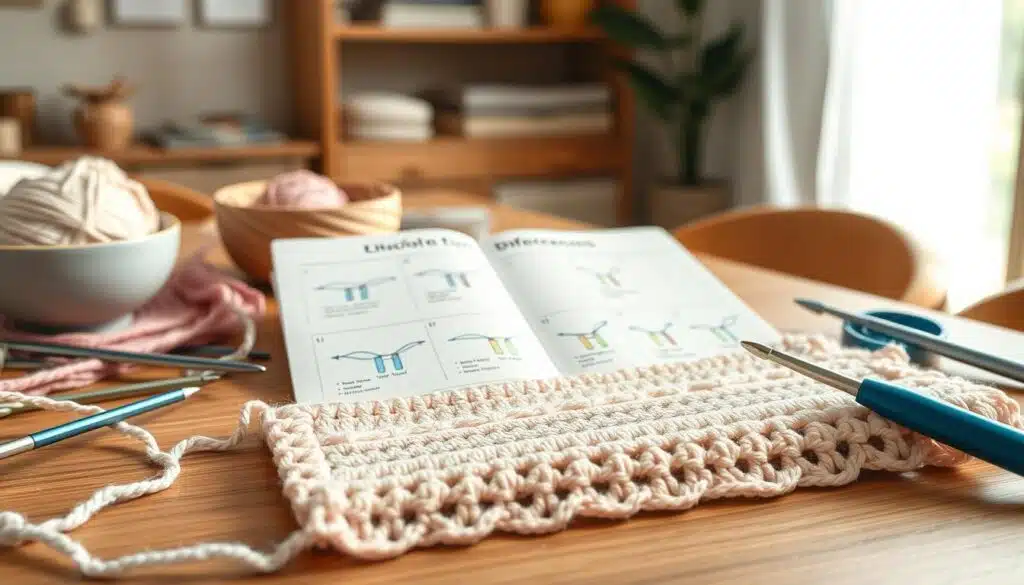
Working through both loops is a common mistake. If your decrease has a visible line or bump, compare it with nearby stitches. If it looks like a standard sc2tog, you likely entered both loops.
To fix this, unpick the decrease and redo it under the front loops only. Practice isolating the front loop with your hook tip. This way, you can feel and see the single strand before pulling through.
Gaps and bumps often come from loose tension or uneven stitch size. Tighten your tension on rounds where you decrease. If that doesn’t solve the issue, switch to a smaller hook for firmer fabric.
Try X-shaped single crochet stitches on a test swatch. They pack stitches more compactly and help hide small holes. These measures will help you fix crochet gaps without changing your pattern.
Dark yarn can hide stitch detail and make front-loop targeting hard. Use bright, directional lighting or work near a window during daylight. A light-colored work surface increases contrast.
Swap to a thicker contrasting stitch marker. This way, you can spot round starts and decrease points at a glance. These crochet visibility tips reduce mistakes and speed up correction.
Always use a stitch marker to track round starts and decrease placement. Markers help you avoid misplaced decreases and miscounts. This creates uneven shaping.
Keep your marker snug but movable. This way, it won’t distort tension as you work.
When you face persistent trouble, slow down and zoom in. Work one stitch at a time, check the front loop with your hook tip, and redo any suspect decreases immediately. Small, consistent habits beat rushed fixes.
These steps cut down on invisible decrease mistakes. With practice, your projects will be neater.
Techniques to Improve Invisible Decrease Results
Want cleaner decreases in your amigurumi? Small changes can make a big difference. Try adjusting tension, stitch choice, and workflow to see improvements. These tips will help you get better invisible decreases on heads, limbs, and small details.
Tension and the X-shaped single crochet
Make your tension slightly tighter for decrease rounds. This helps close gaps and keeps stuffing from showing. Try pulling tighter just for the decrease rounds to keep your gauge consistent.
The X-shaped single crochet hides gaps better than normal stitches. Its interlocking X structure makes the edges denser. This results in fewer visible openings and a firmer finish.
Swapping hook sizes strategically
Using a smaller hook makes your fabric denser. Test your gauge and stuffing needs before switching. A smaller hook reduces hole size and helps your decreases look neat.
Remember, a smaller hook can change how your piece feels. If it gets too stiff, try a half-size change first. Keep a swatch log to reproduce the same tension later.
Working in continuous rounds: markers and tracking
Most amigurumi are made in continuous rounds. You need to track rounds precisely. Use a stitch marker and move it after each round. Mark where you apply decreases for symmetry.
Set up a simple tracking routine. Note the round number, decrease placement, and stitch count. Check your stitch counts after each decrease. This prevents errors and keeps shaping even as you improve.
| Technique | What to do | Expected result |
|---|---|---|
| Tighter tension | Pull slightly firmer for decrease rounds; practice on swatches | Smaller gaps; more consistent V length |
| X-shaped single crochet | Work interlocking X sc around decreases | Denser edge; invisible decreases blend in |
| Smaller hook | Drop one size or half size from pattern; test gauge | Firmer fabric; fewer visible holes |
| Continuous rounds workflow | Use a stitch marker and track decrease placement | Even shaping; symmetry preserved |
| Consistency checks | Count stitches after decreases; keep tension steady | Predictable results; easier replication |
For a visual walkthrough and extra tips, see this guide from Planet June: perfect your invisible decreases. Practicing these techniques in small projects will improve your invisible decrease outcomes quickly.
Pattern Applications and When Not to Use Invisible Decrease
Choosing the right decrease is key for pro-looking amigurumi. Invisible decrease is perfect for smooth, rounded shapes with no seams. It’s ideal for closed, curved pieces where a clean finish is essential.
Best use cases
Heads, bodies, arms, and legs look great with invisible decrease. It conceals joins on spheres and ovals, keeping the finish neat. For patterns that aim for soft, organic curves, invisible decrease is the way to go.
Situations to avoid
Don’t use invisible decrease on flat pieces worked in rows. Corners or motifs that need a visible ridge should stick with the original decrease. Also, respect patterns that require sc2tog for structural or decorative reasons, as swapping can alter the shape.
How to substitute invisible decrease safely
In round-based amigurumi patterns, you can often swap invisible decrease. Make sure it counts as a single-stitch decrease and keep your stitch count right. Practice on a small swatch to compare gauge and visual result before working on the whole piece.
Understanding when to use invisible decrease becomes clearer with a few test rounds. If a pattern’s shaping relies on aligned visible decreases, don’t swap. For seamless form, substitute invisible decrease for a cleaner finish in your amigurumi shaping.
Practice Projects and Free Patterns to Master the Technique
Start with small projects like spheres and amigurumi balls. They help you get the hang of invisible decreases without worrying about shape. These projects let you practice the closing motion until it becomes second nature.
Try adding invisible decreases to a basic ball pattern. Use a marker to keep track of stitch counts. This way, you can ensure symmetry and avoid losing stitches.
Beginner-friendly practice ideas
Make tiny balls in different yarn weights to see how they affect the finish. Compare one ball made with standard decreases to another with invisible decreases. This comparison makes it easy to see your progress.
Suggested free patterns to try
Choose patterns that use round shaping for easy invisible decreases. Luscious Lemon, Kim the Koala, and Appetising Apple are great for heads and small bodies. For a detailed tutorial, visit PlanetJune. For beginner tips, check out Crochet Craze.
How to swap decreases into your favorites
In patterns with continuous rounds, replace single-crochet decreases with invisible decreases. Use a stitch marker to track rounds and recount after substitution. If a pattern warns against changes in corners or flat pieces, follow that advice.
Follow a simple routine: pick a free amigurumi pattern, make a small piece using only invisible decreases, and photograph it. Note any differences. This steady practice makes invisible decreases a reliable skill.
| Project | Skill Focus | Why It’s Good |
|---|---|---|
| Luscious Lemon | Small round shaping, consistent front-loop insertion | Short rounds let you practice closing without complex increases |
| Kim the Koala | Head and ear decreases, symmetry tracking | Multiple round shapes in one pattern offer varied practice |
| Appetising Apple | Firm sphere closure and tiny detail decreases | Small size forces neat tension and precise stitches |
| Simple amigurumi balls | Repetition of invisible decrease motion | Fast to make; ideal for mastering technique before full toys |
Troubleshooting Visuals and Learning Aids
Visuals are key when you’re stuck on a tricky decrease. Short clips and paused frames help you see hook angle, yarn placement, and hand position. Good demos make the motion clear faster than reading.
Recommended video demos
Begin with the Nerdigurumi invisible decrease tutorial for a detailed view. Then, watch a few high-quality invisible decrease videos. This way, you can compare techniques and choose the best one for your project.
Using close-up photos
Take macro shots of both standard and invisible decreases on the same project. Compare them to spot any issues. Try making an elephant with standard decreases and a monkey with invisible decreases to see the difference.
Tips to take crochet photos for diagnosis
Shoot in bright, natural light or use directional lamps for contrast. Use a plain, light background with dark yarn. Capture photos from different angles: right-side view, top-down, and a tight macro on the decrease area. Mark photos to show if you worked both loops or where tension slipped.
Extra aids and practice log
Use a magnifying lamp or stitch counter for finer detail. Pause video frames to copy hand positions exactly. Keep a practice log with dated photos to track your progress and spot recurring issues.
Conclusion
Changing your amigurumi from homemade to handmade is easy. The secret is the invisible decrease crochet method. It involves working under the front loops only and keeping the right side out.
This technique reduces holes, makes shaping smoother, and gives a professional look. It’s perfect for heads, bodies, and limbs.
Start by practicing on small projects like a ball. Try free patterns like Luscious Lemon, Kim the Koala, and Appetising Apple. If you run into problems, look at before-and-after photos.
Watch demos, like Nerdigurumi, and read tips at this guide. It can help a lot.
Use a stitch marker to keep track of rounds. If gaps appear, try a smaller hook or firmer tension. Good lighting is also key for dark yarns.
With practice and these tips, the invisible decrease will become your favorite technique. It makes your plushies look neater and more professional.
FAQ
What is the invisible decrease and how does it differ from a standard sc2tog?
The invisible decrease is a Single Crochet decrease for round pieces. You insert your hook under the front loop of the next two stitches. Pull up two front-loop loops, then yarn over and pull through the first two loops. Next, yarn over and pull through the remaining two.
This method hides the seam, unlike sc2tog, which can leave a visible line. It produces a smoother finish, similar to the Magic Circle.
Why do many experienced amigurumi makers prefer the invisible decrease?
Advanced crocheters like it because it prevents holes and keeps shapes rounded. It blends decreases into the fabric, making shaping seamless. It’s a secret technique in amigurumi patterns.
When should I choose the invisible decrease versus a standard decrease?
Use the invisible decrease for most round amigurumi work. This includes heads, bodies, arms, legs, and closing rounds. It’s a safe swap for smooth shaping unless the pattern requires a visible decrease.
How do I identify the front loop and back loop in circular amigurumi rounds?
With the right side out, the front loop is the outer ridge. The back loop is the inner ridge. Use your hook tip to find the front loop. In spiral rounds, back loops are usually hidden.
Why does working the front loops only create the invisible effect?
Taking only the front loops of two stitches hides the back loops. This keeps the surface smooth and prevents visible lines or bumps.
Does right side orientation really matter for the invisible decrease?
Yes. The invisible decrease works best with the right side out. Working with the wrong side out can make the decrease look uneven. Always check the right side before decreasing.
How should I prepare my hook, tension, and stitch placement before doing an invisible decrease?
Use the recommended hook size but consider a smaller one for firmer fabric. Keep tight tension on decrease rounds. Use a stitch marker to mark rounds and track decreases.
An X‑shaped sc can help stitches sit tightly and reduce gaps.
What are the exact step insertions and yarn‑over sequence for the invisible decrease?
Insert your hook under the front loop of the next stitch and pull up a loop. Do the same for the following stitch. You now have three loops.
Yarn over and pull through the first two loops. Then, yarn over again and pull through the remaining two. This completes one stitch and reduces your count by one.
My decreases show a line or bump — did I work through both loops by mistake?
If your decrease looks like a standard sc2tog, you took both loops. Fix it by unpicking and redoing it under front loops only. Practice isolating the front loop and compare with adjacent stitches.
How do I avoid gaps and bumps around decreases?
Keep tight tension on decrease rounds and use a smaller hook if needed. Use X‑shaped single crochet stitches nearby. Consistent stitch size and even stuffing also help.
Test on a swatch before working decreases on a final piece.
Dark yarn makes it hard to see loops. Any tips for working invisible decreases with dark colors?
Use bright, directional lighting or daylight. Work on a light-colored surface for contrast. Use a thick, high-contrast stitch marker and consider a magnifying lamp if needed.
Pause and zoom video demos, like Nerdigurumi’s tutorial, to study the motion if visibility is a problem.
Can I substitute the invisible decrease into an existing pattern that uses sc decreases?
Generally yes for rounds. The invisible decrease is a one-stitch decrease and can replace sc decreases in continuous rounds. Make sure the pattern doesn’t rely on visible decrease lines for the design.
Track stitch counts carefully and test the swap on a practice swatch or small section first.
What common mistakes should I watch for when learning the invisible decrease?
Common errors include grabbing both loops instead of only front loops, working with the wrong side facing out, loose tension on decrease rounds, and poor lighting with dark yarn. Recognize mistakes by visible lines or holes, then unpick and retry while focusing on front-loop isolation and tighter tension.
What practice projects help you master the invisible decrease?
Start with simple amigurumi balls and small spheres. Practice closing rounds repeatedly. Try the suggested free patterns—Luscious Lemon, Kim the Koala, and Appetising Apple—to apply decreases in real pieces.
Compare before-and-after photos of standard decreases vs. invisible decreases to track progress.
Which video demos or visual aids should I use to learn the motion?
Watch close-up tutorials like the Nerdigurumi invisible decrease demo for live motion reference. Use blog videos and photo sequences that show front-loop insertions and right-side orientation. Pause, rewind, and practice along while watching to build muscle memory.
How can I photograph and diagnose decrease issues in my work?
Photograph in bright natural or directional light against a plain, light background. Take close-up shots from the right-side view and top-down angles. Compare photos of standard sc2tog vs. invisible decrease to spot holes, lines, or bumps.
Annotate images or keep a progress log to spot recurring problems.
Any final tips to improve invisible decrease results?
Use a slightly smaller hook and maintain tighter tension on decrease rounds. Practice front-loop isolation and use an X‑shaped sc for compact stitch structure. Always mark rounds with a stitch marker.
Practice deliberately on small balls, study Nerdigurumi’s demo, and you’ll quickly master the invisible decrease for neater amigurumi shaping.