The magic ring is the foundation of almost every amigurumi project you will ever make. It creates a small, adjustable loop that closes completely at the center, so your stuffed animals, keychains, and plushies start with a neat, gap-free circle instead of a hole that stuffing can peek through. If you have ever chained a few stitches and joined them into a ring only to find a tiny opening in the middle of your work, the magic ring solves that problem for good. This tutorial from Crochet Craze walks you through the technique step by step, covers the most common mistakes, and shows you how to adapt the magic ring to different pattern styles.
What Is a Magic Ring in Crochet?
A magic ring, also called a magic circle or adjustable ring, is a technique for beginning crochet worked in the round. Instead of building a foundation chain and joining it, you wrap yarn into a loop, work your first round of stitches into that loop, and then pull the yarn tail to cinch the center closed. The result is a tight, adjustable starting point that you can tighten as much or as little as your project needs.

Amigurumi designers rely on the magic ring because the center closure matters. A chain-based ring often leaves a visible gap, and in a small piece like a crochet bear snout or a tiny pumpkin, that gap is noticeable. The magic ring produces a clean center point that looks intentional and finished.
Here is why the magic ring is worth learning:
- It closes completely, so no stuffing escapes through the center.
- It works with single crochet, half double crochet, double crochet, and taller stitches.
- It is adjustable, so you can fine-tune tension after the first round.
- It looks professional in finished amigurumi, coasters, granny squares, and mandalas.
Magic Ring Crochet Tutorial: Step by Step
This walkthrough uses single crochet, the most common stitch for amigurumi. Grab a smooth, light-colored worsted or DK weight yarn and a hook one size smaller than the yarn label recommends, since tight stitches are standard for stuffed toys. Light-colored yarn makes it easier to see your stitches while you learn. If you are just getting started, our amigurumi tutorial for beginners covers the basic stitches you will use here.
Step 1: Create the loop
Lay the yarn tail across your palm. Wrap the working yarn over your fingers to form a loop, crossing the working yarn over the tail. Hold the crossing point between your thumb and middle finger so the loop stays open and the tail hangs down.
Step 2: Insert the hook
Slide your hook through the center of the loop, from front to back, going under the working yarn and over the tail. Keep the loop loose enough that the hook glides through without catching.
Step 3: Pull up a loop
Yarn over and draw the working yarn through the center of the ring. You now have one loop on your hook. This loop does not count as a stitch, but many crocheters work a single chain here, sometimes called a chain one, to secure the start. Others skip it entirely. Both approaches are valid, so follow your pattern or experiment to see which gives you a tidier center.
Step 4: Work your first round
Insert the hook into the center of the loop again, yarn over, pull up a loop, yarn over, and pull through both loops. That is your first single crochet worked into the ring. Continue working single crochet into the center of the loop until you have the number your pattern calls for. A standard amigurumi start is six single crochet into the magic ring.
Step 5: Close the ring
Gently pull the yarn tail. The center of the ring will draw closed like a drawstring bag. Pull until the hole disappears, but do not yank so hard that you distort the first round. If the tail resists, check that you have not accidentally caught it inside a stitch.
Step 6: Join or continue in a spiral
If your pattern works in joined rounds, slip stitch to the first single crochet and chain one to begin the next round. If your pattern works in a continuous spiral, which most amigurumi does, place a stitch marker in the first stitch of the round and keep going without joining. Move the marker up each round so you always know where the round began.
Common Magic Ring Mistakes and How to Fix Them
Most magic ring problems come down to tension, and almost all of them are fixable without starting over.
- The center will not close. This usually means one of your stitches was worked around the tail rather than the loop, or you pulled the tail before finishing the round. Check the back of your work for a strand crossing the center.
- The first round twists. Loosen your grip on the loop and keep the ring flat on the table as you work. Twisting happens when the loop rotates while you stitch.
- The center gapes after closing. Pull the tail more firmly and weave it in through several stitches on the wrong side. Some crocheters knot the tail discreetly before weaving.
- Misshapen first round. Try working the ring over your finger instead of holding it in the air, or switch to a slightly smaller hook for the first round only.
- The ring unravels later. Weave the tail in two directions, first through the stitches of the first round and then back through the center. This locks it in place.
If you are brand new to the technique, practice the ring three or four times with scrap yarn before starting a real project. The motion becomes automatic quickly, and the practice rings cost you almost nothing.
How Many Stitches Go Into a Magic Ring?
Patterns specify the count, but these starting numbers cover most situations:
- 5 single crochet: tiny pieces such as amigurumi eyes, small flower centers, and miniature ornaments.
- 6 single crochet: the classic amigurumi start, used for most spheres, heads, and bodies.
- 8 single crochet: slightly larger circles and flatter discs.
- 10 to 12 half double crochet: coasters, hat crowns, and flat circles.
- 12 to 16 double crochet: mandalas, doilies, and larger circular motifs.
The stitch height matters as much as the count. Taller stitches need more stitches to fill the circle evenly, which is why double crochet rings start higher than single crochet rings. When in doubt, follow the pattern exactly and adjust only after you see how the first round behaves.
Magic Ring Alternatives Worth Knowing
The magic ring is not the only way to start in the round. Each alternative has its place, and knowing them helps you choose the right start for a given project.
Chain ring
Chain four to six stitches, join with a slip stitch, and work into the center of the chain ring. This is sturdier than a magic ring and easier to teach to beginners, but it leaves a small center hole. It suits projects where the center will be covered, such as a hat crown worked from the top down.
Chain two method
Chain two and work your first round into the first chain. This produces a very tight start with almost no hole, which some amigurumi makers prefer for small pieces. It can be fiddly to work into and is best with smooth yarn.
Double magic ring
Wrap the yarn twice around your fingers before working the stitches. The finished ring is more secure and holds up better in items that get handled a lot, such as keychains and baby toys. It is slightly bulkier but very durable.
Starting without a ring
Some flat circles begin with a chain of four and are worked in a spiral without joining. This suits blankets and bags, though it is less common in amigurumi where the closed center matters.
Using the Magic Ring in Amigurumi Projects
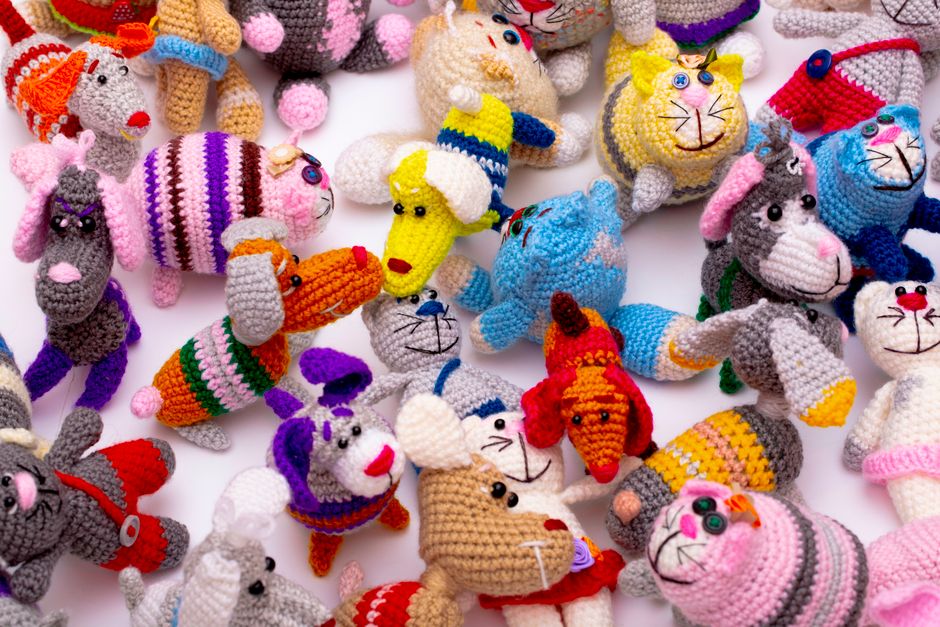
Once you can make a reliable magic ring, a huge range of projects opens up. Almost every amigurumi pattern starts with one, from simple round balls to detailed animals with separate limbs. At Crochet Craze, our pattern library includes thousands of downloadable PDF designs for every skill level, and each one lists its starting stitch count and stitch type so you know exactly what kind of ring to make before you begin.
A few practical habits make the magic ring easier to use in real projects:
- Read the pattern’s first round before you start so you know the stitch type and count.
- Keep a stitch marker handy. Continuous spirals are much easier with one.
- Weave in the tail as soon as the first round is closed, before the piece gets bulky.
- Write down which method you used for a project, so matching pieces come out consistent.
Consistency matters most in amigurumi. If you make one ear with a six-stitch magic ring and the other with a chain ring, the finished pair will not match. Choose a method and stick with it across a project. For more beginner-friendly guidance, browse our amigurumi patterns and pair each design with the techniques you are learning. Our easy crochet animals for beginners collection is a great place to put your new ring to work.
Conclusion
The magic ring is one of those small skills that transforms the look of your crochet. It takes a few minutes to learn and a few practice attempts to master, and after that it becomes second nature. Start with smooth yarn and a hook that feels comfortable, work slowly through the first round, and pull the tail gently to close the center. If your first attempt looks uneven, that is normal. Undo it, try again, and pay attention to how the loop sits on your fingers.
At Crochet Craze, we want amigurumi to feel achievable for every crocheter, whether you picked up a hook last week or have been making plushies for years. Our instant-download PDF patterns, detailed tutorials, and supportive community are here to help you turn a simple ring into handmade treasures you are proud to give or keep. Pick a small project, make your magic ring, and see how quickly the rest follows. When it is time to stuff and finish, our complete guide on how to crochet a stuffed animal walks you through the final steps.