A finished blanket is a milestone. You have spent hours on the body, joined squares, woven in ends, and now the edges are calling for attention. A well-chosen border does more than tidy up loose ends: it frames the whole project, adds weight and drape, and can turn a simple blanket into a keepsake. At Crochet Craze, where we help makers of every level build confidence with detailed tutorials and thousands of amigurumi patterns, we know that finishing touches matter. This guide walks you through border styles, yarn and hook choices, practical planning tips, and troubleshooting so your next crochet blanket border looks intentional from every angle.
Why a Border Changes Everything
Blanket edges take more wear than any other part of the piece. They curl, stretch, and fray first, which is why even a narrow border makes a real difference. A border also evens out gauge differences between panels, hides uneven turning chains, and gives you a chance to correct a wonky edge before the blanket is gifted or stored.
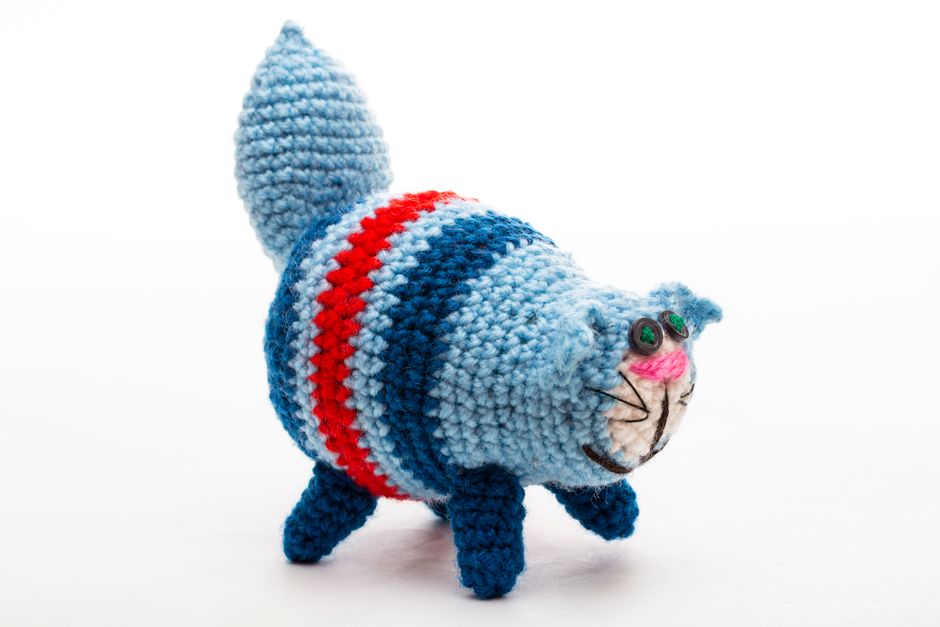
There is a visual benefit too. A contrasting border can pull together a scrappy color palette, while a border in the same yarn as the body creates a calm, cohesive finish. If you are making a blanket to match an amigurumi gift, a border is the ideal place to echo the toy’s accent colors. Think of it the way you would think about embroidering a face on a stuffed animal: small, deliberate details that make the piece feel finished.
Beginner-Friendly Borders
Single Crochet Border
The single crochet border is the workhorse of blanket finishing. Work one round of single crochet around the entire perimeter, placing roughly one stitch per row along the sides and one stitch per stitch along the top and bottom edges. Keep your tension relaxed so the border does not pull. This round alone stabilizes the edges and creates a clean base for anything fancier.
Reverse Single Crochet (Crab Stitch)
Reverse single crochet, often called crab stitch, is worked from left to right and creates a neat, rope-like corded edge. It is quick, sturdy, and looks polished even on a beginner blanket. Add it as the final round after a base of single crochet, and it will hold its shape through repeated washing.
Half Double Crochet and Moss Stitch Edging
For a softer, thicker edge, try a round of half double crochet. If you want texture without complexity, the moss stitch (also called granite or linen stitch) works beautifully as a border. Alternate single crochet and chain one around the perimeter, and you get a dense, nubby fabric that reads as intentional design rather than a quick fix.
Textured and Decorative Borders
Shell and Scallop Edging
Shell borders are a classic choice for baby blankets and heirloom throws. Work a base round of single crochet, then repeat a pattern of several double crochet stitches into one stitch, skip a few stitches, and anchor with a slip stitch. Keep the groups small on fine yarn and larger on bulky yarn. A scalloped edge adds a romantic, vintage feel without much extra effort.

Picot and Bobble Edging
Picot trim gives a delicate, beaded look that suits lightweight blankets and shawls. Bobble borders create a bold, dimensional finish that pairs well with chunky yarn. Both are best worked over a stable single crochet base so the decorative elements sit evenly.
Granny Stitch and Ripple Borders
If your blanket already has a geometric feel, a granny stitch border in two or three colors can extend that rhythm outward. Ripple borders, worked in the same wave pattern as the body, are a natural match for ripple and chevron blankets. Repeating the body’s motif in the border always looks deliberate.
Herringbone and Alpine Stitch Edging
For makers ready to add depth, herringbone and alpine stitch borders create rich, woven-looking texture. Work these in a neutral yarn so the stitch pattern is the star. They add substance to the edge and help a lightweight blanket drape more heavily.
Choosing Yarn, Color, and Hook
The border yarn does not have to match the blanket. In fact, a border in a contrasting color is one of the easiest ways to make a handmade blanket look designer. Choose a shade already present somewhere in the body, or pick a deeper tone of the main color for a subtle, tonal look. Multicolored blankets usually benefit from a single solid border color that ties the palette together.
Yarn weight matters. A border in the same weight as the body keeps the drape consistent. If you switch to a heavier yarn, go up a hook size or two so the border does not tighten the edge and cause rippling. Keep a note of the hook size and yarn used in your project journal so a future blanket can match.
For blankets that will be washed often, choose a durable, machine-washable fiber. Cotton blends hold up well and have good stitch definition, while acrylic is affordable and easy to care for. If you are making a gift for a child, softness and washability should come before fancy stitchwork.
Planning and Troubleshooting Your Border
Before you begin, count your stitches along each side. Borders are easiest to keep even when you know the exact count and distribute increases or decreases accordingly. Along the sides of a blanket, place roughly one border stitch per row. Along top and bottom edges, work one stitch into each stitch. At the corners, work three stitches into the corner stitch or chain space, unless your pattern specifies otherwise.
If the border ripples, you have too many stitches. If it cups or pulls inward, you have too few. Both are easy to fix: undo the round, adjust your stitch placement, and try again. Blocking the finished blanket with a gentle steam or a wet block will settle minor unevenness and give the border a crisp, professional line.
Also plan your finishing order. Weave in all body ends before starting the border, then weave in the border ends after blocking. Leaving the border until last lets you measure and adjust the blanket to its final size first.
A Simple Step-by-Step Border Routine
- Weave in all ends from the blanket body and inspect the perimeter for loose stitches.
- Work one round of single crochet around the entire blanket, using the placement rules above and three stitches at each corner.
- Add a second round in half double crochet or moss stitch to smooth any unevenness.
- Choose one decorative round, such as a shell, picot, or reverse single crochet, to finish.
- Fasten off, weave in ends, and block the blanket lightly.
Borders That Match Your Blanket Style
The best border is the one that suits the blanket’s personality. A simple single crochet round is ideal for minimal, modern blankets. A shell or picot edge adds charm to baby blankets and vintage-inspired throws. Granny stitch borders suit scrap blankets and color block designs. Bold bobble or textured borders give chunky, cozy blankets a substantial finish.
If you crochet amigurumi and blankets side by side, borrow ideas from your toy projects. A smooth, tight single crochet round gives a blanket a clean, structured edge much like a finished amigurumi seam. A scalloped edge is a playful nod to the curves and details you stitch into stuffed animals. Crochet skills cross over, and trying one technique in a new context is one of the fastest ways to improve.
Keep a small border swatch book as you experiment. Label each swatch with the stitch, hook size, and yarn. Over time you will build a personal library of finishes, and choosing a border for the next blanket will take minutes instead of hours.
Conclusion
A crochet blanket border is a small investment that transforms the finished piece. Start with a stable single crochet base, choose a texture that complements the blanket body, and keep your corner stitches even. Whether you finish with a simple crab stitch or an elaborate shell edging, the border deserves the same care as the body of the blanket. At Crochet Craze, we love seeing makers bring their projects across the finish line, and we are here with tutorials, amigurumi patterns, and a supportive community to help you do exactly that. Pick a border, grab your hook, and give your blanket the edge it has earned.