Chunky beanie crochet tutorial – if you’re new to crochet and looking to create something warm, stylish, and easy, you’re in the right place. Crafting a chunky beanie is not only beginner-friendly but also incredibly rewarding. All you need are a few tools, some chunky yarn, and a touch of patience.
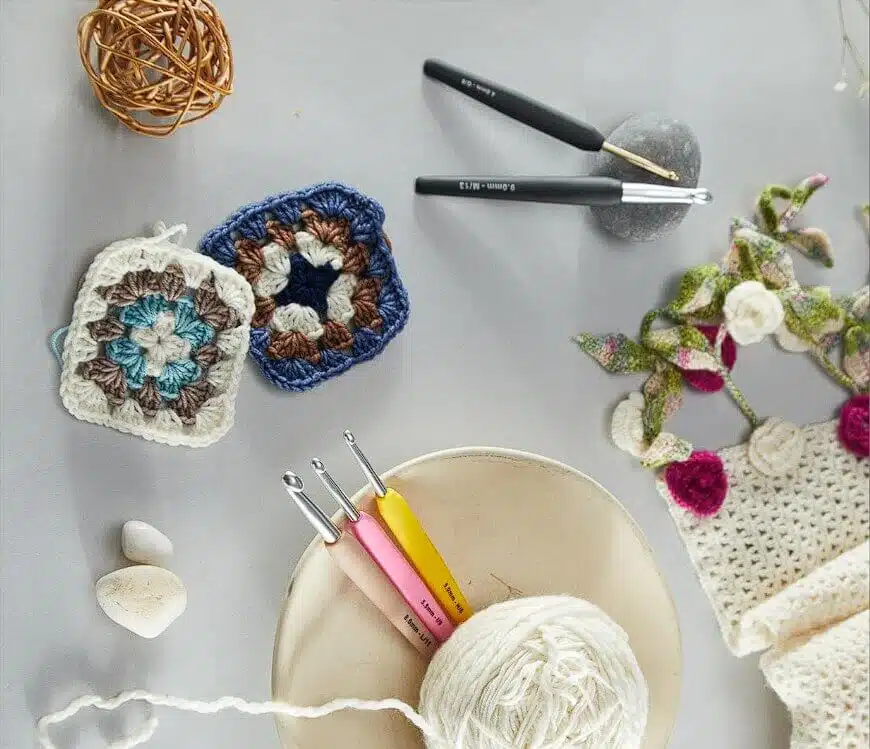
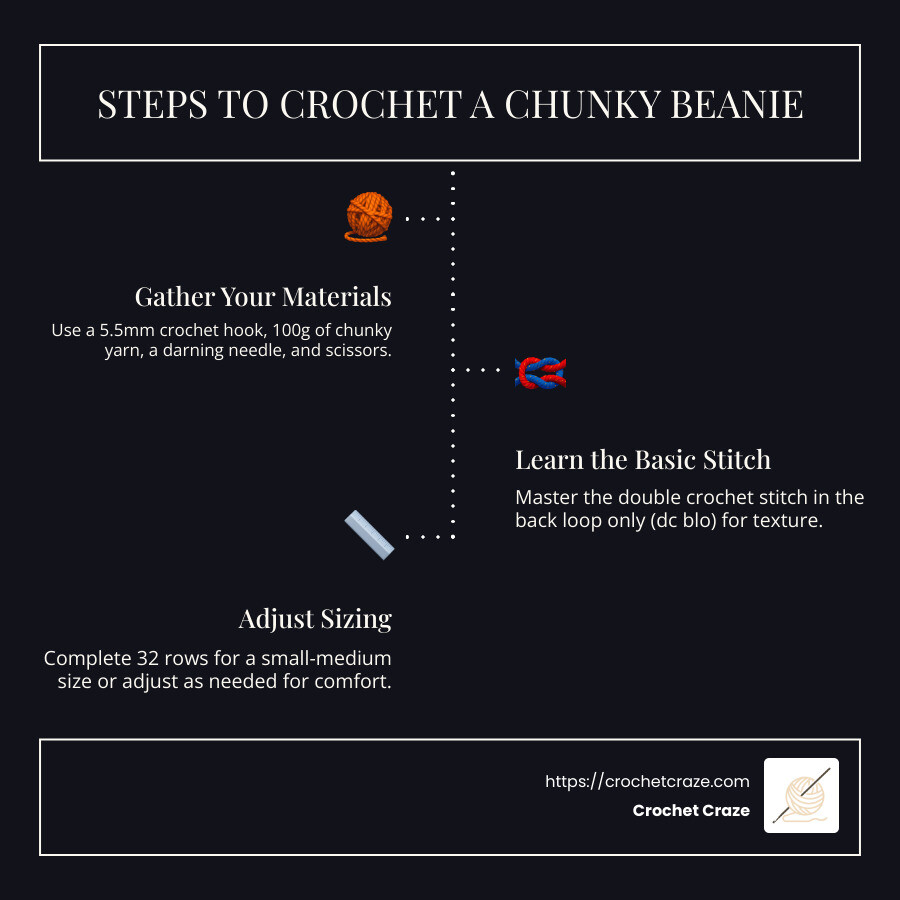
- What You Need: Grab a 5.5mm crochet hook, 100g of chunky yarn, a darning needle, and some scissors.
- Basic Technique: Master the double crochet stitch in the back loop only (dc blo) to achieve the perfect texture.
- Sizing Tip: 32 rows fit a small-medium head; adjust for personal comfort.
Start on this cozy journey and create your very first chunky beanie!
Choosing the Right Yarn and Tools
When diving into crochet, selecting the right materials is crucial. Let’s break down what you need to make your chunky beanie crochet tutorial a success.
Yarn: Wool and Super Bulky
For a chunky beanie, super bulky yarn is your best friend. This type of yarn is thick, which means your project will work up quickly and provide the warmth you need for those chilly days.
One popular choice is the Lion Brand Wool Ease Thick & Quick. This yarn is a fantastic blend of wool and acrylic, offering both warmth and durability. Plus, it comes in a variety of colors to match any style.
Why Wool? Wool yarn is known for its insulating properties, making it perfect for winter wear. It’s breathable and can absorb moisture without feeling wet, keeping you comfortable in different weather conditions.
Crochet Hook Size
The size of your crochet hook matters just as much as your yarn choice. For a chunky beanie, a larger hook is needed to handle the thickness of the yarn.
- Recommended Size: A 9mm (M/N-13) crochet hook works well with super bulky yarn. It helps create larger stitches, which are essential for achieving that chunky, cozy look.
Tips for Success
-
Check Yarn Label: Always check the yarn label for recommended hook sizes and gauge. This ensures your project turns out as expected.
-
Tension Matters: Keep a medium tension to avoid running out of yarn. This is especially important if you’re working on a one-ball project like this beanie.
-
Experiment with Colors: Not all colors of the same yarn brand have the same yardage. Pick a color with the most yarn to ensure you have enough.
By choosing the right yarn and tools, you’re setting yourself up for a successful and enjoyable crochet experience. Ready to start stitching? Let’s move on to the step-by-step tutorial!
Step-by-Step Chunky Beanie Crochet Tutorial
Creating your own chunky beanie is a rewarding project, perfect for beginners. This chunky beanie crochet tutorial will guide you through each step, ensuring you end up with a cozy hat you can be proud of.
One-Ball Project
This beanie is a one-ball project, meaning you only need a single skein of yarn to complete it. It’s a cost-effective and convenient way to start crocheting without worrying about running out of materials.
- Tip: Ensure you choose a color with the highest yardage in the brand you select, like the Lion Brand Wool Ease Thick & Quick, to make sure you have enough yarn.
Medium Tension
Maintaining a medium tension is key when working on this project. Too tight, and your beanie might not fit; too loose, and you might run out of yarn.
- Pro Tip: If you notice your stitches are too tight or loose, adjust your grip or change your hook size. This can help ensure consistency throughout your project.
Herringbone Single Crochet
The herringbone single crochet stitch is a beautiful choice for this beanie. It creates a lovely texture that’s both eye-catching and functional.
How to Herringbone Single Crochet:
- Insert your hook into the stitch.
- Yarn over and pull through, creating two loops on your hook.
- Insert your hook into the last loop of the stitch from the left.
- Yarn over and pull through all loops on your hook.
This stitch might take a bit of practice, but it’s worth the effort for the unique texture it provides.
Back Loop Only
Crocheting in the back loop only adds a subtle ribbed texture to your beanie, giving it a professional finish.
Steps for Back Loop Only:
- Yarn over and insert your hook into the back loop of the stitch.
- Yarn over again and pull through the stitch.
- Complete the stitch as you normally would.
This technique not only improves the look of your beanie but also adds stretch, making it more comfortable to wear.
By following these steps and tips, you’ll be well on your way to crafting a chunky beanie that’s both stylish and functional. Up next, we’ll explore another pattern option with a different texture and style.
Easy Breezy Super Chunky Beanie Pattern
The Easy Breezy Super Chunky Beanie is a standout piece in any crochet collection, thanks to its ribbed texture and classic design. This pattern is perfect for those chilly winter days, offering warmth and style in equal measure.
Ribbed Texture
The ribbed texture of this beanie is achieved by working in the back loop only. This technique creates a series of raised ridges that not only look appealing but also add elasticity to the hat. The ribbed look is not just for aesthetics—it provides a snug fit that can adapt to different head sizes.
Folded Brim
One of the signature features of this beanie is its folded brim. This brim is versatile; you can adjust its height to suit your style. Whether you prefer a taller brim for extra warmth or a shorter one for a sleek look, this pattern accommodates your preference. The brim is created by simply folding the bottom edge of the beanie, adding an extra layer of coziness around the ears.
Adjustable Sizing
Worried about fit? The Easy Breezy Super Chunky Beanie pattern includes adjustable sizing, making it suitable for everyone from babies to adults. To adjust the size, you can modify the length of your starting chain or the number of rows you work. This flexibility ensures that your beanie fits perfectly, no matter who it’s for.
Half Double Crochet
The entire beanie is crafted using the half double crochet (HDC) stitch. This stitch is beginner-friendly and forms a dense fabric, ideal for keeping out the cold. The HDC is worked in vertical rows to form a rectangle, which is then sewn into a tube shape. Finally, the top is cinched together to close the beanie.
How to Half Double Crochet:
- Yarn over and insert your hook into the stitch.
- Yarn over again and pull through the stitch, resulting in three loops on your hook.
- Yarn over once more and pull through all three loops.
This simple stitch makes the beanie quick to work up, even for those new to crochet.
The Easy Breezy Super Chunky Beanie is not just functional but also stylish, making it a perfect project for beginners and experienced crocheters alike. Next, let’s dive into some frequently asked questions to help you troubleshoot common issues and make the most of your crochet projects.
Frequently Asked Questions about Chunky Beanie Crochet
What is the best yarn for chunky beanies?
When it comes to crafting a chunky beanie, wool yarn and super bulky yarn are top choices. Wool yarn is excellent for warmth and elasticity, making it ideal for winter accessories. Super bulky yarn, classified as weight 6, is perfect for creating a thick, cozy beanie that works up quickly. A popular choice among crocheters is the Lion Brand Wool Ease Thick & Quick, which offers a blend of wool and acrylic for comfort and durability.
How much yarn do I need for a chunky beanie?
The beauty of making a chunky beanie is that it’s typically a one-ball project. This means you’ll only need one skein of yarn to complete your beanie. For most patterns, including the Easy Breezy Super Chunky Beanie, you’ll need about 100g of yarn. This makes it a cost-effective and convenient project for beginners and seasoned crafters alike.
What crochet stitch is best for chunky yarn?
When working with chunky yarn, choosing the right stitch is crucial for achieving the best texture and structure. The single crochet stitch is a popular choice for its simplicity and ability to create a dense fabric, perfect for warm beanies. However, if you’re looking for a bit more flair, the herringbone single crochet offers a unique texture while maintaining the thickness and warmth needed for a chunky beanie. This stitch adds a subtle twist to the classic single crochet, giving your beanie a distinctive look.
These frequently asked questions should help guide you as you start on your chunky beanie crochet journey. Whether you’re picking out yarn or deciding on the best stitch, these insights will ensure your project is a success.
Conclusion
Starting on your crochet journey can be both exciting and rewarding, especially with the right resources and guidance. At Crochet Craze, we’re dedicated to helping beginners master the art of crochet, one stitch at a time. Our step-by-step tutorials and expert tips make crafting items like chunky beanies accessible to everyone.
Here are some beginner tips to keep in mind:
-
Start Small: Begin with simple projects like the chunky beanie. It’s a one-ball project, meaning you’ll only need a single skein of yarn. This makes it manageable and less overwhelming for beginners.
-
Choose the Right Tools: A 5.5mm crochet hook and wool yarn or super bulky yarn are perfect for creating a cozy, warm beanie. These materials are easy to work with and help you see your stitches clearly.
-
Practice Makes Perfect: Don’t be discouraged by mistakes. Crochet is forgiving, and you can easily solve and redo stitches until you get it right.
-
Use Resources: Take advantage of the vast resources available on our website. From detailed tutorials to video guides, these resources are designed to help you succeed in your crochet endeavors. Visit our Crochet Patterns & Tutorial Videos for more inspiration and guidance.
The journey of learning to crochet is as beautiful as the finished product. With patience and practice, you’ll soon find yourself creating not just beanies, but a variety of other crochet wonders. Happy crocheting!