Common Amigurumi Abbreviations and Symbols: sc, hdc, dc, inc, dec, sl st and Their Chart Equivalents
If amigurumi pattern symbols look like secret code at first, take a breath. That’s completely normal, and it fades fast. Every pattern is built from a tiny vocabulary, and once you know it, you can read almost any toy pattern you find. This amigurumi pattern symbols guide walks you through that vocabulary so the next pattern you open feels friendly instead of fiddly.
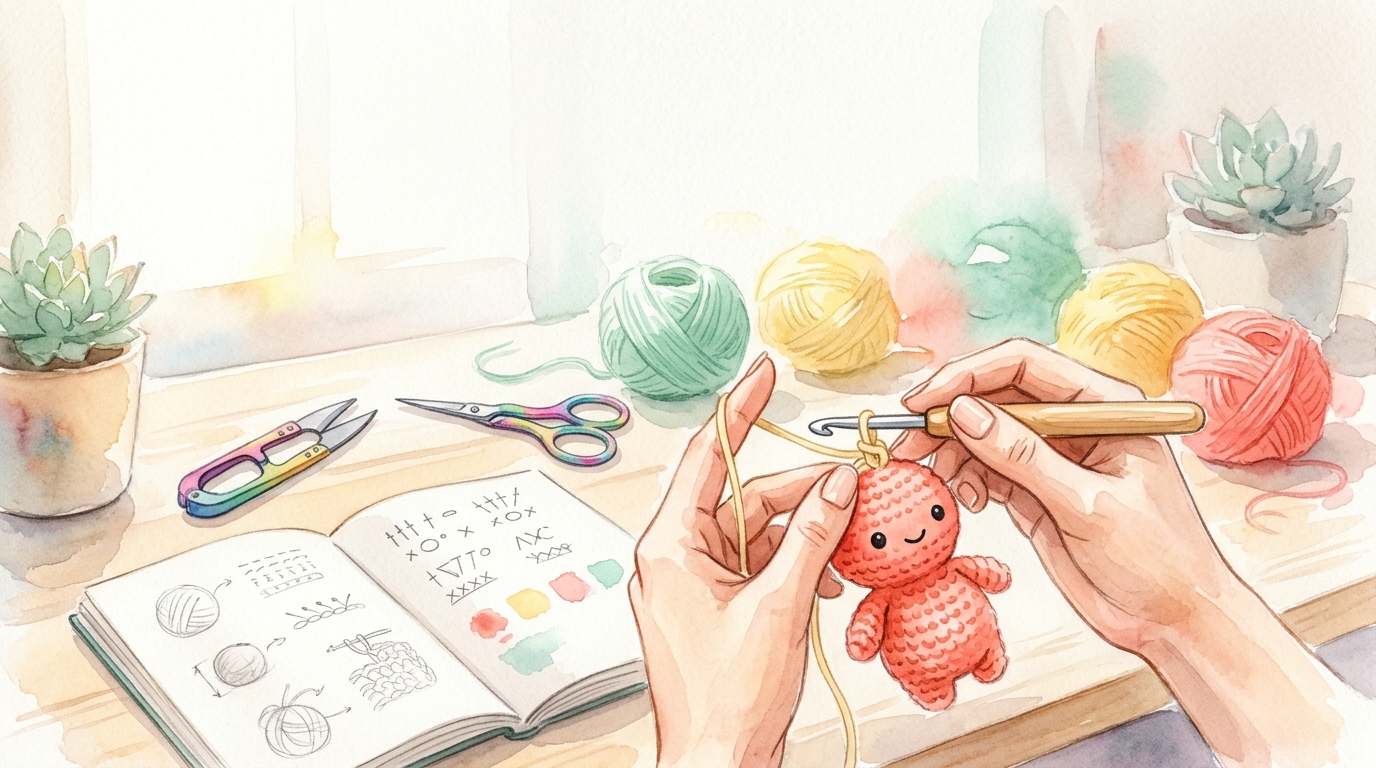
Written patterns shorten stitch names into abbreviations, and charts draw the same stitches as little pictures. Here are the ones you’ll meet constantly:
- sc (single crochet): the workhorse of amigurumi. Its chart symbol is a small x or a plus sign.
- hdc (half double crochet): a slightly taller stitch, drawn as a T shape.
- dc (double crochet): taller again, drawn as a T with one crossbar on the stem.
- inc (increase): two stitches worked into one stitch, which makes your toy widen. On a chart it looks like a V or an upside-down Y, showing two stitches sharing one base.
- dec (decrease): two stitches worked together into one, which makes your toy narrow. On a chart it looks like an upside-down V where two stitches join at the top.
- sl st (slip stitch): used to join rounds or move yarn without adding height. Charts show it as a filled dot or a very small x.
- ch (chain): drawn as an oval, and often used to start a piece.
The logic behind taller stitches is neat once you see it. Each crossbar on the stem of a symbol stands for one more yarn-over. A T with no bar is a half double, one bar is a double, two bars is a treble. You don’t need to memorize every symbol today. Most amigurumi is worked almost entirely in sc, inc, dec and sl st, so those four are your starting lineup.
Another term you’ll see right away is the magic ring, a technique for starting crochet in the round without leaving a hole in the centre. Many patterns open with “6 sc in a magic ring,” and the chart shows it as a small circle with stitches radiating outward. If you’re new to the craft, our guide on amigurumi pattern abbreviations explained goes deeper on the written side.
Decoding Japanese Amigurumi Charts: x, ^, o, わ, 目 and 段 Explained
Amigurumi began in Japan, and many original patterns come as charts rather than written instructions. They look intimidating, but they use a compact, consistent set of symbols. Learning them with an amigurumi pattern symbols guide opens up a huge world of patterns, and it makes you a more confident crocheter overall.
Here’s how the common symbols translate:
- x means single crochet.
- o (a small circle or zero) means chain stitch.
- • (a filled dot) means slip stitch.
- ^ (the caret) shows a stitch worked as a decrease or increase, depending on the designer’s key. Typically a caret-style mark with two legs at the top or bottom shows two stitches joined or split, so always confirm with the legend.
Then come the Japanese characters, which are far less scary than they appear:
- わ (wa) means ring, loop or circle. This is your magic ring, the starting point of most toys.
- 目 (me) means stitch. A number followed by this character tells you how many stitches you should have.
- 段 (dan) means row or round. A number with this character tells you which round you’re on.
So a line reading “1段 6目” simply says round one, six stitches. A written pattern gives you the same information as “Round 1: 6 sc (6),” just packed into a few marks.
Charts are read as a visual picture of the toy. Because amigurumi is worked in the round, the chart is usually drawn as concentric circles, with the magic ring at the centre and each new round spiralling outward. You work from the centre out, one stitch symbol at a time. Compare that with a flat chart, where you turn after each row. A helpful walkthrough of this idea appears in How to Amigurumi Crochet for Beginners, which also covers the basics of working in a spiral.
Here’s a practice trick that works. Pick a simple ball pattern, find the chart and the written version, and lay them side by side. Matching symbol to abbreviation a few times builds recognition quickly. If you want a gentle project for this, our small amigurumi patterns for quick projects are ideal for decoding charts without a big time commitment.
Charts vs. Written Patterns: Working in the Round and Reading Stitch Counts
Charts and written patterns describe the same toy in two different languages. Neither is better, and many crocheters learn to use both formats alongside an amigurumi pattern symbols guide. Charts shine when you want to see the shape of the work and understand where increases land. Written patterns shine when you want clear, linear steps you can follow with a pencil.
The most important thing to understand in either format is that most amigurumi is worked in a continuous spiral, not in joined rounds. You don’t turn your work, and you often don’t close each round with a slip stitch. A stitch marker placed in the first stitch of each round helps you keep track of where one round ends and the next begins. This is a major difference from flat crochet, and if you want to understand why the two feel so different, our article on amigurumi vs regular crochet explains it clearly.
Now for the part that saves your sanity: the stitch count. In written patterns, a number in parentheses at the end of a round, such as (18), tells you how many stitches you should have when that round is finished. In charts, you can count the symbols in each ring to get the same total. Treat this number as a checkpoint, not an afterthought. If your count is off at the end of a round, it’s far easier to fix it right then than to hunt for the mistake three rounds later.
Here’s a simple example of how a first few rounds might read and chart:
- Round 1: 6 sc in a magic ring (6)
- Round 2: inc in each stitch around (12)
- Round 3: (sc, inc) repeated around (18)
Notice how the count grows predictably. Once you spot that rhythm, a chart becomes less of a puzzle and more of a map. For a fuller picture of how those early rounds become a head and torso, see our crochet amigurumi head and body guide.
Always Check the Legend First, and Watch for US vs. UK Terms
If there’s one habit worth building, it’s this: read the legend before you touch your yarn. Symbols are common, but they aren’t universal. A chart may show you the stitch visually, yet the legend tells you exactly how that particular designer defines each mark. One designer’s caret might mean a decrease while another’s means something slightly different, and the legend is the final authority.
Make it a two-minute ritual. Before starting any pattern, scan the abbreviation list or chart key, circle anything unfamiliar, and look it up. This simple step prevents most of the frustrating “why does my toy look wrong?” moments.
The second thing to watch for is the difference between US and UK crochet terminology, because the same name can mean a different stitch. In US terms, a single crochet is the shortest basic stitch. In UK terms, that same stitch is called a double crochet. The names shift all the way up the ladder, which can cause real confusion if you follow a pattern without knowing which system it uses.
A quick comparison for the stitches you’ll use most:
- US single crochet (sc) = UK double crochet (dc)
- US half double crochet (hdc) = UK half treble (htr)
- US double crochet (dc) = UK treble (tr)
Good patterns state which terminology they use, usually near the abbreviation list. If a pattern doesn’t say, look at the stitch names and the stitches called for. A pattern that is almost all “dc” with a tiny, dense fabric in the photo is probably UK, since amigurumi relies on tight stitches. Hook choice also shapes how snug your toy turns out, so our amigurumi crochet hook size guide is a good companion read.
Your Printable Amigurumi Symbol Key and Next Steps with Crochet Craze PDFs
Here’s a quick-reference key you can copy onto a sticky note or print and tuck into your project bag. It pairs each symbol with its written abbreviation and meaning:
| Symbol | Abbreviation | Meaning |
|---|---|---|
| x or + | sc | single crochet |
| T | hdc | half double crochet |
| T with one bar | dc | double crochet |
| V (two stitches, one base) | inc | increase |
| upside-down V | dec | decrease |
| • or small x | sl st | slip stitch |
| o | ch | chain |
| わ | MR | magic ring |
| 目 | st(s) | stitch count |
| 段 | rnd | round |
Keep this printable amigurumi pattern symbols guide beside your work for your first few projects, and you’ll soon find you reach for it less and less. That’s the goal: fluency, not memorization.
Remember that every designer’s legend has the final say, so use this key as a starting point and always glance at the pattern’s own key first. Pair your symbol knowledge with a reliable yarn estimate by reading how much yarn for amigurumi, so you never run short mid-toy.
Ready to practice on something real? Our free amigurumi patterns PDF downloads for beginners include clear abbreviation lists and stitch counts, so you can check your understanding as you go. Download one, keep your symbol key handy, and start with a simple shape. Stitch by stitch, those mysterious marks turn into a toy you made yourself, and a supportive Crochet Craze community is on its way to cheer you on.