Beginner crochet beanie tutorial seekers, your quick guide awaits! Crafting a crochet beanie from yarn is not just a delightful project but a great entry point into crochet. Here’s a quick glance at what you’ll need and what to do:
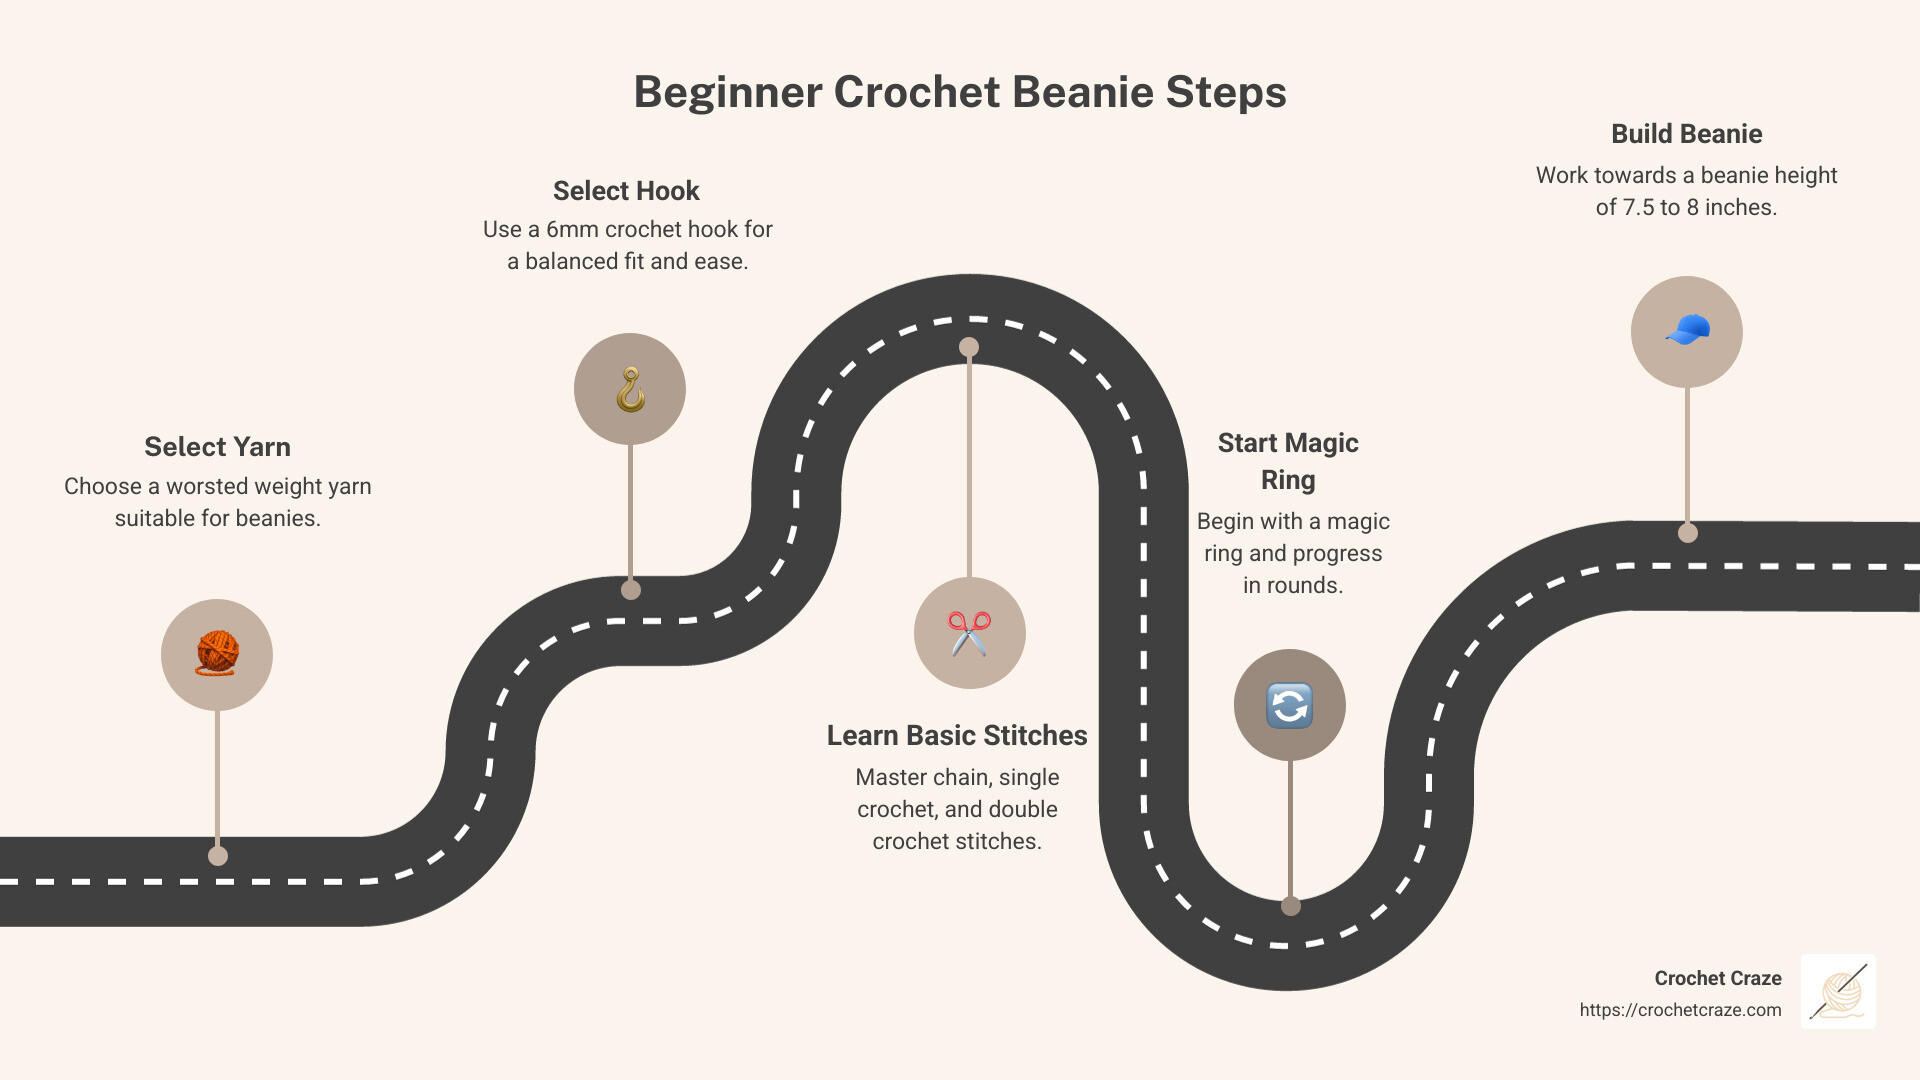
- Choose a worsted weight yarn suitable for a beanie.
- Use a 6mm crochet hook for a balanced fit and ease.
- Master basic stitches like chain, single crochet, and double crochet.
- Start with a magic ring and progress in rounds to build your beanie.
- Aim for a beanie height of 7.5 to 8 inches.
Starting on a crochet journey is a step into creativity and relaxation. As Emily, the Aspiring Crafter would appreciate, a beginner-friendly project like a beanie combines learning new skills with the joy of crafting something wearable.
I’m Sonji Huerta. As someone equally new and passionate about crochet, I understand the joy—and initial challenges—of diving into projects like the beginner crochet beanie tutorial. I’ve dedicated myself to mastering the basics and guiding others through simple, effective methods to achieve satisfying results.
Essential Materials for Crochet Beanies
To start your crochet beanie journey, you’ll need a few essential tools and materials. These items are the backbone of any successful beginner crochet beanie tutorial. Let’s explore each one:
Yarn Selection
Choosing the right yarn is crucial. For beginners, a worsted weight yarn is ideal. It’s easy to handle and offers a good balance of thickness and flexibility. Red Heart with Love Yarn is a popular choice due to its softness and ease of use. However, any similar worsted weight yarn will work well.
Tip: If you’re looking for a chunkier look, consider using a bulky yarn like Lion Brand’s Color Made Easy. It works up quickly and is perfect for cozy, winter-ready beanies.
Hook Sizes
The size of your crochet hook can make a big difference. For most beginner beanies, a 6mm (J-10) crochet hook is recommended. This size is perfect for worsted weight yarn and helps maintain a smooth, even tension.
Pro Tip: If you’re using a bulkier yarn, you might want to go up a size to ensure your stitches aren’t too tight.
Mix Needle
A yarn needle, often called a mix needle, is essential for finishing your beanie. You’ll use it to weave in loose ends and secure your stitches. Look for a needle with a large eye to easily accommodate your yarn.
Scissors
A good pair of sharp scissors is a must-have. You’ll need them to cut your yarn cleanly, which helps prevent fraying and makes it easier to weave in ends.
Checklist for Your Crochet Kit:
- Worsted Weight Yarn (or Bulky Yarn for a thicker beanie)
- 6mm Crochet Hook (adjust if using different yarn weight)
- Yarn Needle for finishing
- Sharp Scissors for cutting yarn
With these materials in hand, you’re ready to start on your crochet trip. Whether you’re creating a gift or something for yourself, having the right tools will make your project smoother and more enjoyable.
Beginner Crochet Beanie Tutorial
Creating your first crochet beanie is a rewarding experience, especially with a simple, step-by-step guide. Let’s break it down into manageable parts to ensure you feel confident every step of the way.
Choosing the Right Yarn and Hook
Start by selecting the right yarn. Worsted weight yarn is ideal for beginners because it’s easy to work with and versatile. If you’re aiming for a chunkier beanie, opt for bulky yarn like Lion Brand’s Color Made Easy, which provides extra warmth and works up faster.
For your crochet hook, a 6mm (J-10) size is recommended when using worsted weight yarn. This size helps maintain even tension and is comfortable for beginners. If you choose a bulkier yarn, consider using a larger hook to prevent stitches from being too tight.
Basic Stitches for Beanies
Before diving into the pattern, familiarize yourself with a few basic stitches:
-
Single Crochet (sc): This is a tight and dense stitch, perfect for creating a snug beanie.
-
Double Crochet (dc): This stitch is taller and looser, adding flexibility and drape to your project.
-
Slip Stitch (sl st): Used for joining rounds and creating seamless edges.
Step-by-Step Beanie Creation
-
Magic Ring: Start with a magic ring, which allows for an adjustable opening at the top of your beanie. This technique is essential for a neat finish.
-
Foundation Chain: Create a foundation chain by chaining two stitches. This will set the stage for your double crochet rounds.
-
Increasing Rounds: Begin with 12 double crochet stitches into the magic ring. Close the round with a slip stitch. For subsequent rounds, increase the number of stitches. For example, in the second round, alternate between two double crochets in one stitch and one double crochet in the next. Continue this pattern, increasing the number of single double crochets between increases until you reach the desired size.
-
Body of the Beanie: Once the top is wide enough, work double crochet stitches evenly around without increasing. This creates the body of the beanie. Continue until your beanie reaches the desired length, usually about 7.5 inches for a standard fit.
-
Finishing Touches: Finish with a border of single crochet stitches for a neat edge. Complete two rounds and then use a yarn needle to weave in any loose ends.

Customization Options
Personalize your beanie by experimenting with different yarn colors or adding embellishments like pom-poms or buttons. You can also adjust the length to create a slouchy style or add ear flaps for extra warmth.
With these steps, you’re well on your way to mastering the art of beanie-making. Next up, let’s explore some tips and tricks to perfect your crochet skills.
Tips and Tricks for Perfect Beanies
Creating a perfect crochet beanie involves more than just following a pattern. Here are some handy tips to ensure your beanie is just right:
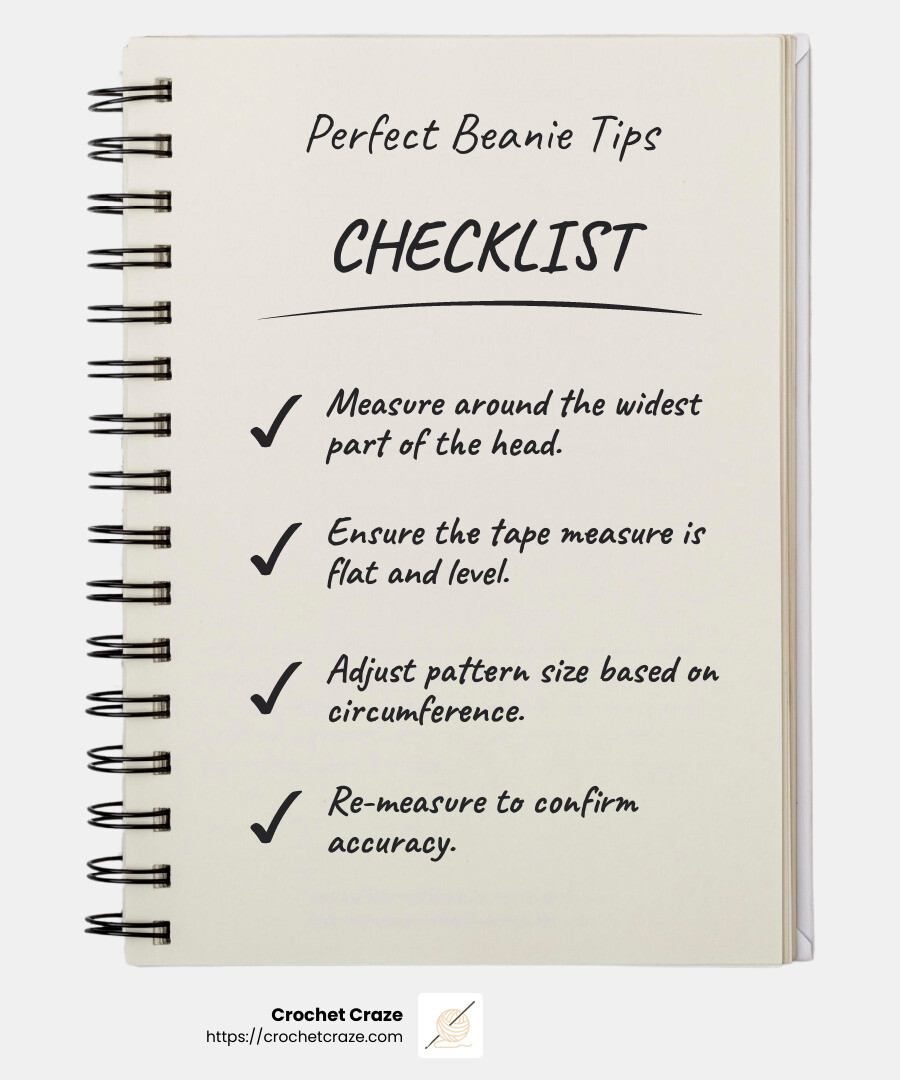
Measuring Head Circumference
Getting the right fit starts with accurate measurements. Use a flexible tape measure to determine the circumference of the head. Measure above the ears and across the forehead, right above the eyebrows. This will help you adjust the pattern to fit snugly.
Adjusting Size
Once you have the head circumference, you can adjust the beanie size accordingly. If your beanie turns out too small or too large, don’t worry! Here’s how to tweak it:
-
Too Small: Add extra rounds of double crochet stitches to increase the diameter of the beanie.
-
Too Large: Reduce the number of increasing rounds or switch to a smaller hook size to tighten the stitches.
The key to a well-fitting beanie is to check the fit as you go. This way, you can make adjustments before you finish the entire project.
Adding Embellishments
Embellishments can turn a simple beanie into a statement piece. Here are a few ideas to personalize your creation:
-
Pom-Poms: Add a fun and playful touch by attaching a pom-pom to the top of your beanie. You can make your own using leftover yarn or purchase one ready-made.
-
Buttons: Sew on colorful buttons for a decorative element. They can be placed at the brim or scattered across the beanie for a unique look.
-
Appliqués: Crochet small shapes like stars or flowers and sew them onto the beanie for added flair.
These embellishments not only improve the visual appeal but also make your beanie uniquely yours.
With these tips and tricks, you’ll be able to create a crochet beanie that fits perfectly and looks fabulous. Now, let’s move on to common pitfalls and how to avoid them in your crochet journey.
Common Mistakes and How to Avoid Them
Crocheting a beanie is a rewarding project, but it can come with a few hiccups along the way. Let’s explore some common mistakes beginners face and how to sidestep them for a smoother crafting experience.
Tension Issues
Tension is crucial in crochet, especially for beanies. Too tight, and your beanie could end up stiff and small. Too loose, and it might be floppy and oversized.
- Solution: Practice makes perfect. Before starting your beanie, make a small swatch to test your tension. Adjust by either loosening your grip on the yarn or changing your hook size. A larger hook will loosen tension, while a smaller one will tighten it.
Stitch Counting
Miscounting stitches is a frequent problem that can lead to uneven beanies. You might end up with a lopsided shape if the stitch count is off.
- Solution: Use stitch markers at the beginning of each round to keep track. Count your stitches at the end of every round to ensure accuracy. Consistent counting helps maintain the intended shape and size of your beanie.
Finishing Techniques
The final touches can make or break the look of your beanie. A sloppy seam or uneven edge can detract from your hard work.
- Solution: For a seamless finish, use the invisible seamless join method when closing the top of the beanie. This technique hides the seam and gives your beanie a professional look. Additionally, weave in all yarn ends securely to prevent them from solveing over time.
By keeping these common pitfalls in mind, you can avoid frustration and ensure your beginner crochet beanie tutorial results in a beautiful, wearable piece. Up next, let’s tackle some frequently asked questions about crochet beanies to further boost your confidence.
Frequently Asked Questions about Crochet Beanies
How many chains for a beginner beanie?
When starting a beginner crochet beanie tutorial, the number of chains you need depends on the pattern and the yarn weight. For a basic beanie using worsted weight yarn, you might start with a magic ring instead of chains. This method allows you to work in rounds and adjust the size easily as you go.
If you’re using a pattern that begins with chains, typically, you’d chain 4 and then join with a slip stitch to form a ring. This creates a base for your first round of stitches.
Is a beanie a good beginner crochet project?
Absolutely! A beanie is a fantastic project for beginners. It’s manageable in size and allows you to practice essential stitches like single crochet, double crochet, and slip stitch. Plus, it’s a practical item that you can wear or gift, giving you a sense of accomplishment.
Case in point: Many beginners find success with simple beanie patterns like the classic ribbed beanie. This pattern uses basic stitches and provides a great opportunity to practice working in the round, which is a common technique in crochet.
What is the easiest crochet project for beginners?
While beanies are a great start, the easiest crochet project for absolute beginners is often a simple scarf or dishcloth. These projects use basic stitches and don’t require shaping or working in the round. A simple scarf allows you to focus on getting comfortable with your tension and the rhythm of crocheting without worrying about increasing or decreasing stitches.
Once you feel confident with flat projects, you can step up to a beanie. The skills you gain from simpler projects will make the transition smoother and more enjoyable.
Conclusion
Starting on your crochet journey with us at Crochet Craze can be a rewarding and fulfilling experience. Whether you’re just starting or looking to refine your skills, mastering crochet opens up a world of creative expression. From simple projects like scarves and dishcloths to more intricate designs like beanies, each stitch brings you closer to crafting pieces that are both functional and beautiful.
At Crochet Craze, we believe that anyone can learn to crochet with the right guidance and resources. Our tutorials, like the beginner crochet beanie tutorial, are designed to make the learning process enjoyable and accessible. We provide clear instructions, helpful tips, and a supportive community to ensure you feel confident every step of the way.
Crochet isn’t just about making items; it’s about expressing your creativity and finding joy in each project. As you continue to practice and explore new patterns, you’ll find the endless possibilities that crochet offers. Whether you’re creating gifts for loved ones or crafting for yourself, each piece is a testament to your growing skills and artistic flair.
Ready to dive deeper into crochet? Explore our wide range of crochet patterns and tutorial videos and take the next step in mastering the art of crochet. Let your creativity flourish with Crochet Craze by your side.